
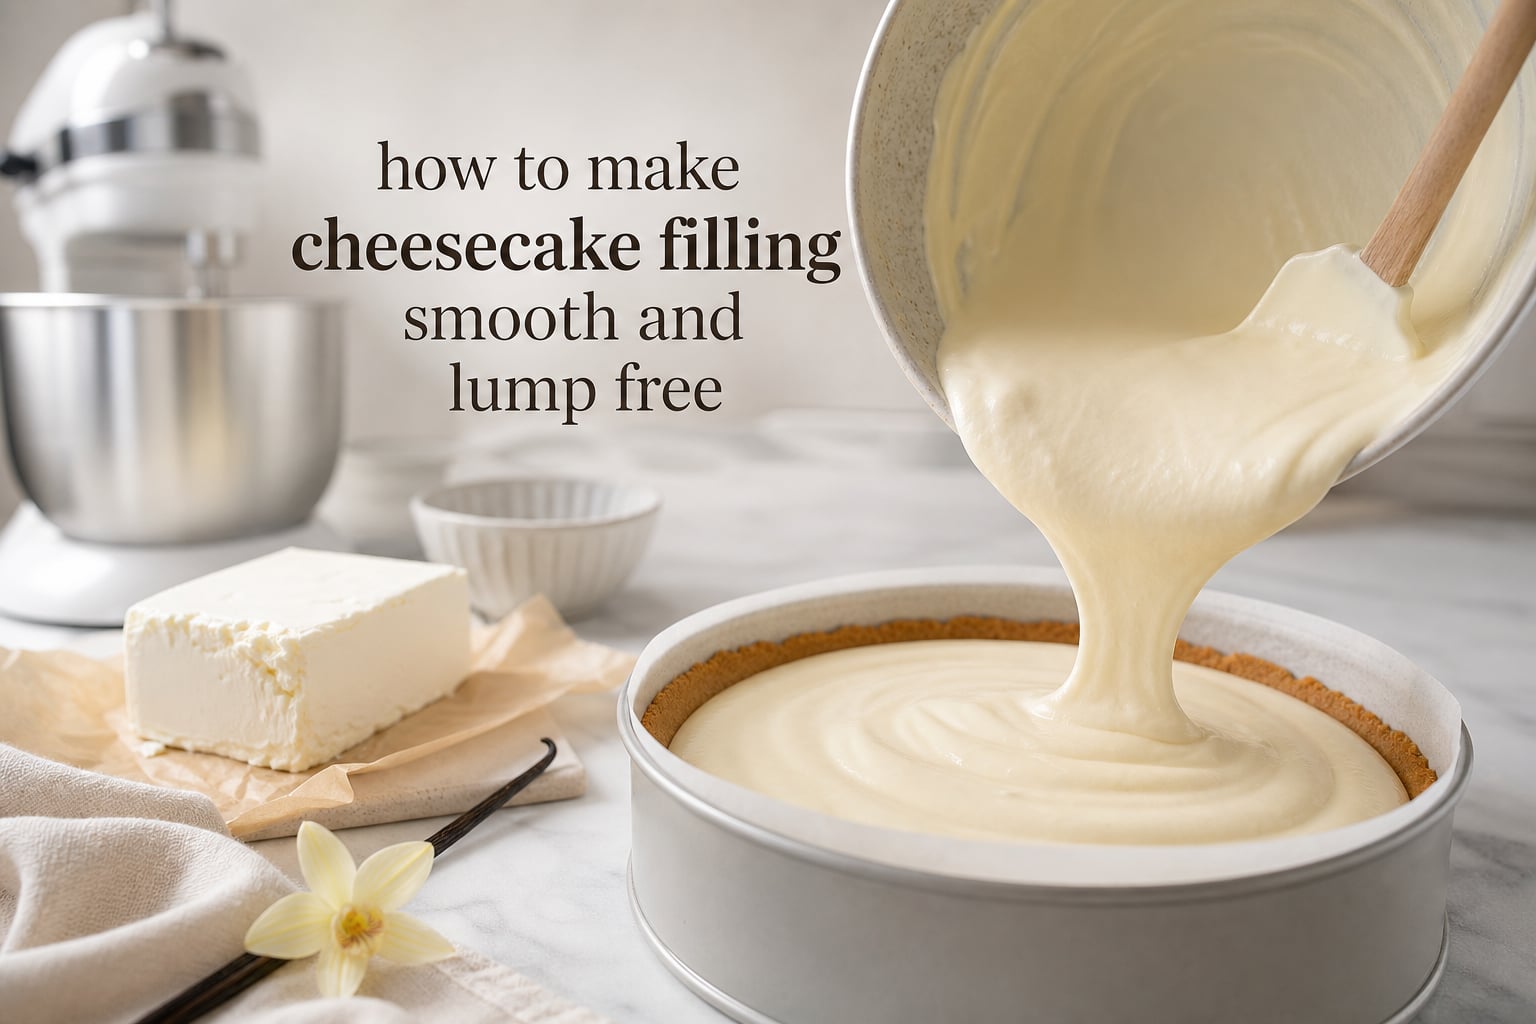
There is nothing more frustrating than pulling your cheesecake out of the fridge, slicing into it, and finding tiny chunks of cream cheese scattered through an otherwise beautiful filling. If you have ever mixed for ten minutes straight and still ended up with little balls of cream cheese that refuse to smooth out, you are not alone. This is one of the most common baking problems people write to us about.
The good news is that learning how to make cheesecake filling smooth and lump free comes down to a few simple principles. Once you understand why lumps form and how temperature affects cream cheese, you will never struggle with this again. In this guide, I will walk you through the exact technique we use in our kitchen, plus every rescue method I know for fixing filling that has already gone lumpy.
Table of Contents
Why Your Cheesecake Filling Gets Lumpy
Lumpy cheesecake filling almost always comes down to one of five mistakes. Understanding which one tripped you up is the first step to fixing it.
Cold cream cheese is the number one culprit. When cream cheese is straight from the fridge, it is too firm to blend evenly. Your mixer beats the soft outer layer smooth while leaving cold, hard pockets deep inside. No amount of extra mixing will fix this because those cold spots just break into smaller chunks rather than dissolving.
Adding all ingredients at once is the second biggest mistake. Dumping cream cheese, sugar, eggs, and cream into the bowl simultaneously overwhelms the mixing process. Each ingredient has a different consistency, and they need to be incorporated in a specific order to create a smooth emulsion.
Using the wrong mixer attachment creates problems too. A whisk attachment whips air into the filling and pushes cream cheese against the bowl walls in chunks. A flat paddle or beater attachment presses the cream cheese flat against the bowl, smoothing it as it turns.
Forgetting to scrape the bowl leaves a ring of unmixed cream cheese stuck to the sides. That ring eventually falls into your filling as lumps when you pour the batter out. Scraping down the bowl every minute or two prevents this entirely.
Using spreadable or tub cream cheese instead of brick-style is a sneaky cause. Tub cream cheese contains extra air and stabilizers that change how it blends. Always use brick-style, full-fat cream cheese for cheesecake.
The Key to Smooth Filling: Cream Cheese Temperature
Temperature is the single most important factor in achieving a smooth, lump-free cheesecake filling. If you only remember one thing from this article, let it be this: your cream cheese must be properly softened before you start mixing.
Room temperature cream cheese means the cheese has warmed to about 68 to 72 degrees Fahrenheit. At this temperature, the fat in the cream cheese is pliable enough to blend evenly without leaving pockets. The entire block should feel soft when you press it, not just the outside.
How Long Does Cream Cheese Take to Soften?
A full brick of cream cheese takes about 60 to 90 minutes to reach proper room temperature on your counter. If you cut it into cubes first, that time drops to about 45 minutes. The smaller the pieces, the faster they warm.
One mistake I see often is people thinking 15 or 20 minutes is enough. It is not. The outside might feel soft, but the center will still be cold and firm. When you beat it, those cold centers break apart into the tiny lumps that are so hard to get rid of.
The Microwave Shortcut Nobody Talks About
If you forgot to take your cream cheese out ahead of time, there is a reliable microwave method that bakers on Reddit have shared for years. Remove the foil wrapper and place the cream cheese on a microwave-safe plate. Microwave on medium power (50 percent) in 15-second intervals, turning the brick each time.
Most ovens take about three to four intervals to fully soften an 8-ounce brick. The key is using reduced power so the cream cheese softens evenly instead of melting at the edges. If your microwave does not have a power setting, use 10-second bursts instead and check after each one.
Never microwave cream cheese on full power. The edges will melt and separate while the center stays cold, which actually makes lumps worse, not better.
The Finger Press Test
How do you know when your cream cheese is truly ready? Use the finger press test. Gently press your finger into the center of the brick. It should leave a deep indentation with no resistance at all. If you feel any firmness or spring-back in the center, it needs more time.
The surface should also look slightly glossy, not matte. A matte appearance means the cream cheese is still too cold on the inside.
Step-by-Step: How to Make Cheesecake Filling Smooth and Lump Free
Follow these six steps and your filling will come out silky every time. This is the exact method I use for both baked and no-bake cheesecakes.
Soften the cream cheese fully. Let your brick-style cream cheese sit at room temperature for 60 to 90 minutes, or use the microwave method above. Test with the finger press test before moving on.
Beat the cream cheese alone first. Place the softened cream cheese in your mixing bowl and beat it by itself on medium speed for 2 to 3 minutes. Scrape the bowl halfway through. This step is critical because it breaks down the cream cheese completely before any other ingredient complicates things.
Add sugar gradually. With the mixer running on low, add powdered sugar one half cup at a time. Powdered sugar blends in much more smoothly than granulated sugar. Wait until each addition is fully incorporated before adding the next.
Scrape the bowl thoroughly. Stop the mixer and use a rubber spatula to scrape down the sides and bottom of the bowl. There will be a layer of cream cheese stuck to the bowl that the mixer cannot reach. If you skip this, that layer becomes lumps later.
Add remaining ingredients one at a time. Mix in vanilla extract, then sour cream or lemon juice, then eggs if making a baked cheesecake. Add each ingredient on low speed and mix just until combined. Over-mixing at this stage incorporates too much air.
Fold in whipped cream for no-bake versions. If you are making a no-bake cheesecake, whip heavy cream to stiff peaks separately. Then use a spatula to fold it into the cream cheese mixture by hand. Never use the mixer for this step because it will deflate the cream.
By the end of step 6, your filling should be glossy, uniform, and completely smooth with zero visible specks.
Visual Cues Your Filling Is Done
Properly mixed cheesecake filling has a glossy, slightly shiny surface. When you lift the beater, the filling should fall in a smooth ribbon that incorporates back into the bowl within a second or two. If the ribbon has texture or visible specks, keep mixing and scrape the bowl again.
Hold a small amount up to the light. You should not see any small dots or streaks. The color should be uniform from edge to edge.
Paddle Attachment vs Whisk: Which Is Better
This is one of the most debated topics in baking forums, and the answer is clear: use the paddle attachment, not the whisk.
The flat paddle presses cream cheese against the side of the bowl on each rotation, smearing it smooth. A whisk attachment has wires that cut through the mixture, which can actually create small lumps by breaking cold spots into tiny fragments rather than smoothing them.
Experienced bakers on Reddit consistently recommend the paddle for this reason. One baker put it perfectly: the cream cheese has to be room temperature, and you should mix it with a paddle for smoothness.
If you are using a hand mixer, the standard beaters that come with it work similarly to a paddle. They do a better job than a whisk attachment on a stand mixer.
There is one exception. If you are whipping heavy cream separately for a no-bake cheesecake, use the whisk attachment for that step only. Once the cream is whipped, switch back to a spatula for folding.
Choosing the Right Cream Cheese
Not all cream cheese is created equal, and using the wrong type can sabotage your filling before you even start mixing.
Always use brick-style cream cheese. This is the solid block wrapped in foil. It has the right moisture content and fat ratio for cheesecake. Spreadable cream cheese in a tub has been whipped with extra air and contains stabilizers that prevent it from blending smoothly.
Use full-fat cream cheese. Reduced-fat and fat-free versions contain more water and less fat. They blend differently, set differently, and are more prone to lumping. The fat in full-fat cream cheese is what creates that silky texture.
Philadelphia is the most recommended brand across baking forums and professional recipes. It has a consistent fat content and smooth texture that blends predictably. Store brands can work well too, but results vary. If you are troubleshooting a persistent lumps problem, try switching to Philadelphia to see if the brand is the issue.
For baked cheesecakes, use room temperature cream cheese. For no-bake cheesecakes, the cream cheese should still be softened, but the heavy cream should be cold so it whips properly.
Troubleshooting: How to Fix Lumpy Cheesecake Filling
Already have lumpy filling in your bowl right now? Do not throw it out. Here are five rescue methods, ranked from simplest to most aggressive.
Method 1: Keep Mixing and Scrape More
If the lumps are small and few, the fix might be as simple as mixing longer. Stop the mixer, scrape every surface of the bowl thoroughly, then beat on medium for another 2 minutes. Many lumps are just cream cheese stuck to the bowl that has not been incorporated yet.
Method 2: Warm It Slightly and Re-Beat
If the cream cheese was not fully softened, the lumps are cold spots that will not dissolve no matter how long you mix. Transfer the filling to a microwave-safe bowl and microwave in 10-second bursts on low power, stirring after each burst. Once the mixture is slightly warm to the touch, beat it again. The warmth softens the lumps so they blend in.
Method 3: Strain Through a Fine Mesh Sieve
This is the most reliable fix for stubborn lumps. Set a fine mesh sieve over a clean bowl and pour the filling through it. Use the back of a spoon or a spatula to press the mixture through, scraping the underside of the sieve regularly. This catches every lump and produces perfectly smooth filling on the other side.
It takes a few minutes of effort, but the result is guaranteed smooth. I use this method every time I am making a cheesecake for guests and want zero risk of lumps.
Method 4: Use a Food Processor
A food processor does something a mixer cannot: it pulverizes ingredients with a blade rather than beating them. Transfer your lumpy filling to a food processor and run it for 60 to 90 seconds. The blade will break down lumps that a mixer cannot reach.
This method works especially well for baked cheesecakes because the filling does not rely on whipped cream for structure.
Method 5: The Gelatin Rescue
If your filling is both lumpy and runny, dissolve a small amount of unflavored gelatin in warm water and fold it into the mixture. The gelatin helps the filling set while masking some of the texture issues. This is a last resort, but it has saved many cheesecakes from the trash.
Can You Bake Lumpy Cheesecake Batter?
Yes, you can bake lumpy batter, but the lumps will not disappear during baking. They will set into the cake and be visible in every slice. The texture will be slightly grainy rather than silky. It will still taste fine, but if presentation matters, fix the lumps before baking.
For no-bake cheesecakes, lumpy filling is even more noticeable because the filling is the star of the show. Always smooth it before chilling.
FAQs
How to make cheesecake filling not lumpy?
Use room temperature cream cheese, beat it alone for 2-3 minutes before adding other ingredients, use the paddle attachment, and scrape the bowl frequently. Always use brick-style full-fat cream cheese, never the spreadable tub variety.
How to avoid lumps in cream cheese?
Soften cream cheese to 68-72 degrees Fahrenheit before mixing. Cut it into cubes to speed up softening. Beat it by itself first until completely smooth, then add other ingredients one at a time on low speed.
Why is my cheesecake texture not smooth?
The most common causes are cold cream cheese, adding all ingredients at once, using a whisk instead of a paddle attachment, not scraping the bowl, or using reduced-fat or tub cream cheese. Temperature is the factor that matters most.
How to get cream cheese smooth for cheesecake?
Let brick-style cream cheese sit at room temperature for 60-90 minutes. Beat it alone on medium speed with a paddle attachment for 2-3 minutes, scraping the bowl halfway through. If lumps persist, warm the mixture slightly in the microwave and re-beat, or strain through a fine mesh sieve.
Can I bake lumpy cheesecake batter?
Yes, you can bake it and it will be safe to eat. However, the lumps will remain visible in the finished cheesecake and the texture will be slightly grainy. For the best result, smooth the batter before baking using the straining or warming methods.
How long should I beat cream cheese for cheesecake?
Beat cream cheese alone for 2-3 minutes on medium speed before adding any other ingredients. After each addition, mix for 30-60 seconds just until combined. Total mixing time is typically 5-8 minutes depending on the recipe and batch size.
Wrapping Up: Smooth Filling Every Time
Making cheesecake filling smooth and lump free comes down to three core principles: temperature, technique, and patience. Get your cream cheese to proper room temperature first. Beat it alone before adding anything else. Use the paddle attachment and scrape the bowl frequently.
If you do end up with lumps, remember the straining method. A fine mesh sieve will save almost any batch of filling in under five minutes. The microwave warming trick works wonders for cream cheese that was not softened enough.
Cheesecake is one of those desserts that rewards attention to detail. Once you nail the filling technique, you can apply it to every cheesecake recipe you try, from classic New York style to no-bake variations. The filling is the heart of the dessert, and a smooth, silky texture makes all the difference.