
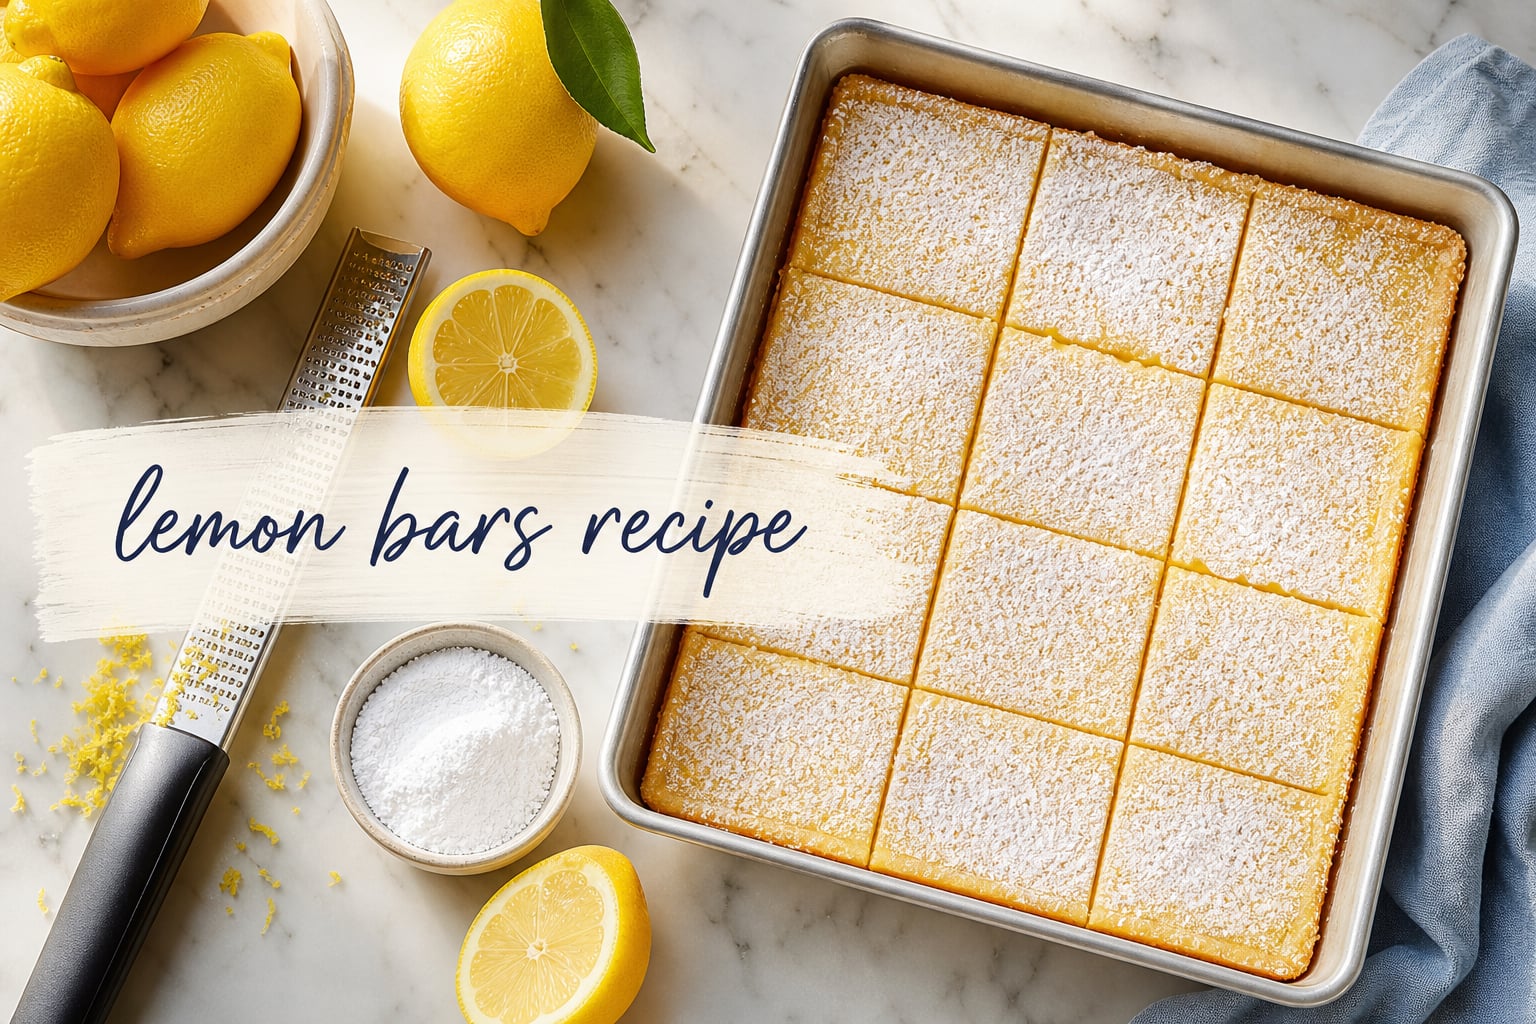
If you have ever had a lemon bar from a real bakery, you know the difference. The crust shatters softly under your fork, the filling is bright and zingy rather than cloying, and the top dusts your fingertips with powdered sugar. This lemon bars recipe hits all of those notes, and I have tested it more times than I want to admit in our 7ate9 Bakery test kitchen.
You only need a handful of pantry staples to make a perfect pan, and the technique is forgiving once you understand the few key steps. Below I will walk you through the ingredients, the method, the pan choice that actually matters, and the troubleshooting fixes for the problems I see most often in our inbox.
Table of Contents
What You Need for This Lemon Bars Recipe
Before we start, gather everything so the assembly goes fast. Lemon bars come together in two phases: a quick press-in shortbread crust and a pour-over lemon curd filling. Having the butter softened, the eggs at room temperature, and the lemons zested and juiced ahead of time is the difference between a smooth bake and a frantic one.
Crust Ingredients
1 cup (226 g) unsalted butter, softened to room temperature
1/2 cup (100 g) granulated sugar
2 cups (240 g) all-purpose flour, spooned and leveled
1/4 teaspoon fine sea salt
1 teaspoon pure vanilla extract (optional but recommended)
Lemon Curd Filling Ingredients
4 large eggs, room temperature
1 1/2 cups (300 g) granulated sugar
1/4 cup (32 g) all-purpose flour
1/2 teaspoon fine sea salt
1 cup (240 ml) fresh lemon juice (about 4 to 5 large lemons)
2 tablespoons lemon zest (from 2 of the lemons above)
Powdered sugar, for dusting
Equipment You Will Use
A 9×13 inch baking pan is the standard size for this lemon bars recipe. You will also need parchment paper for easy lifting, a stand mixer or hand mixer for the crust, a whisk for the filling, and a microplane zester if you have one. A glass or dark metal pan both work, and I will explain the difference further down.
How to Make Lemon Bars: Step by Step
These steps are written so the filling goes into the oven the moment the crust comes out. That timing matters because the hot crust helps the filling set on contact and reduces cracking later on. Read the whole method once before you start, and you will move through it without stress.
Step 1: Prep the Pan and Oven
Preheat your oven to 350°F (177°C). Line a 9×13 inch pan with parchment paper, leaving overhang on the two long sides so you can lift the bars out cleanly. Lightly grease any exposed pan edges so the crust does not stick where the parchment ends.
Step 2: Make the Shortbread Crust
In a stand mixer fitted with the paddle, beat the softened butter and granulated sugar on medium until pale and fluffy, about 2 minutes. Add the vanilla, then mix in the flour and salt on low just until the dough comes together in soft clumps. It should look like damp sand, not a smooth ball.
Press the dough evenly into the prepared pan, getting into the corners and slightly up the sides. I use the flat bottom of a measuring cup for this. A uniform thickness is the secret to even baking and a true shortbread texture.
Step 3: Parbake the Crust
Bake the crust for 18 to 20 minutes, until the edges are just turning pale gold and the center looks set, not wet. This parbake is the single biggest reason lemon bars crack later. A fully baked crust will not absorb moisture from the filling, so the lemon layer sets on top rather than soaking in and puffing unevenly.
Pull the crust out and reduce the oven to 325°F (163°C). Leave the crust in the pan on a wire rack while you make the filling.
Step 4: Whisk the Lemon Curd Filling
In a large bowl, whisk the 4 eggs until just broken up. Add the sugar, flour, and salt, and whisk until smooth, about 30 seconds. Pour in the fresh lemon juice and whisk again. Stir in the lemon zest last. You want the mixture completely smooth with no streaks of flour visible.
Strain the filling through a fine-mesh sieve into a large measuring cup or bowl. This step catches any zest clumps or unincorporated flour and is the easiest way to get a glassy, professional-looking top.
Step 5: Pour and Bake
Pour the strained filling directly over the hot crust. Tilt the pan gently to level it, then carefully slide it into the oven. Bake at 325°F for 22 to 26 minutes, until the center is set with just a slight jiggle in a 2-inch patch in the very middle.
The filling should look matte on top, not shiny, and the edges will be slightly puffed. If the whole surface still shimmers when you nudge the pan, give it 3 more minutes. Overbaking causes cracks, so check at the earliest window.
Step 6: Cool, Chill, and Cut
Let the bars cool in the pan on a wire rack for 1 hour at room temperature. Then refrigerate, uncovered, for at least 2 more hours. Lemon bars are a make-ahead dessert for a reason: the chill time is what turns the filling from tender to properly sliceable.
To cut, lift the slab out using the parchment overhang and place it on a cutting board. Use a large sharp knife, wiped clean with a damp paper towel between cuts, to slice into squares or rectangles. Dust generously with powdered sugar right before serving.
Glass vs Metal Pan: What Actually Changes
Glass and metal pans are not interchangeable for lemon bars, and the difference is worth understanding before you bake. I tested this recipe in a clear glass Pyrex and an aluminum pan side by side, and the results were noticeably different in both timing and texture.
A glass pan heats more slowly but retains heat longer. This means the crust bakes more evenly, the edges stay softer, and the filling sets with a creamier, more custard-like texture. If you use glass, expect to add 2 to 3 minutes to the crust bake and 1 to 2 minutes to the filling bake.
A shiny aluminum or light-colored metal pan heats fast and cools fast. The crust gets crispier and slightly more browned on the bottom, which some bakers prefer for true shortbread snap. The filling sets faster, so watch closely in the last 5 minutes to avoid overbaking.
Dark or nonstick metal pans run hot and can scorch the crust. If that is all you have, drop the oven temperature by 25°F and check the crust at 14 minutes. In our test kitchen, a glass 9×13 produced the most consistent, bakery-style lemon bars for this recipe.
Secrets to Perfect Lemon Bars Every Time
After dozens of test bakes, these are the five moves that separate a good lemon bar from a great one. None of them are hard, but skipping any of them is the difference between average and exceptional.
Use whole eggs, not just yolks. Whole eggs give the filling structure while keeping it tender. All-yolk versions taste richer but crack badly and feel fudgy. The 4 whole eggs in this recipe are calibrated for that classic bakery texture.
Fresh lemon juice is non-negotiable. Bottled juice has a flat, slightly bitter flavor that comes through after baking. Real lemons also give you zest, which carries the lemon oils and adds real aroma.
Strain the filling. Ten seconds over a fine-mesh sieve removes zest clumps and any unblended flour. The payoff is a glossy, crack-free top that looks like it came from a pastry case.
Parbake the crust until pale gold. Not just set, but actually a touch of color. This is the step most home bakers underbake, and it is the leading cause of a soggy bottom layer.
Pull the bars when the center still jiggles slightly. The filling finishes setting as it cools. If you bake until the center is firm in the oven, it will crack on the way out.
Troubleshooting Common Lemon Bar Problems
Even with a tested recipe, things can go sideways. Here are the four issues our readers ask about most, and exactly how to fix them next time.
Why Did My Lemon Bars Crack on Top?
Cracking almost always means the filling was overbaked or the oven ran hot. The proteins in the eggs tighten and shrink as they cook past their ideal set point, and the surface splits to relieve the tension. Pull the bars when the center still has a small, slow jiggle, and verify your oven temperature with a $10 oven thermometer.
A second cause is pouring cold filling into a cold crust. The temperature shock makes the edges set first and the middle catch up too quickly, which cracks the surface. Hot crust plus room temperature filling is the fix.
Why Is My Crust Soggy on the Bottom?
The crust was underbaked, or the filling was too wet. Make sure you bake the crust until the edges are pale gold, and reduce your lemon juice by 1 to 2 tablespoons if you live in a very humid climate. Sifting the flour for the filling also helps it absorb evenly instead of pooling.
Why Does My Filling Taste Eggy?
Too many yolks or eggs that were not fully whisked into the sugar are the usual suspects. Use whole eggs as written, and whisk until the sugar looks fully dissolved before adding the lemon juice. Adding a half teaspoon of vanilla also masks any remaining egg flavor without changing the lemon profile.
Why Are My Bars Too Runny in the Center?
They need more chill time, or the filling was slightly underbaked. Lemon bars are essentially a soft-set lemon curd, and they firm up dramatically during the 2-hour refrigerator chill. If the center is still loose after 3 hours, you may need to bake the next batch for 2 to 3 minutes longer.
How to Store and Freeze Lemon Bars
Lemon bars keep beautifully, which is one reason they are a go-to for potlucks, bake sales, baby showers, and spring brunches. Stored properly, they taste just as bright on day three as they do the day you bake them.
For short term storage, cover the pan tightly with foil or transfer cut bars to an airtight container. They will keep at room temperature for up to 1 day, or in the refrigerator for up to 5 days. Dust with powdered sugar only right before serving, since moisture in the fridge will dissolve it.
For freezing, wrap individual bars in plastic wrap, then place them in a freezer bag or airtight container. They freeze well for up to 3 months. Thaw in the refrigerator overnight and dust with powdered sugar before serving. Do not freeze them with the sugar already on top.
For make-ahead entertaining, you can bake the bars a full day ahead, refrigerate them covered, and slice and dust just before guests arrive. The flavor actually deepens overnight.
Easy Variations to Try
Once you have the base lemon bars recipe down, swapping the citrus is the easiest way to make this dessert your own. Use the same measurements, but try these substitutions for a different flavor profile.
For blood orange bars, replace the lemon juice with 1 cup fresh blood orange juice and reduce the sugar by 2 tablespoons. The color is a stunning deep pink and works beautifully for Valentine’s Day or a winter brunch.
For lime bars, swap the lemon for fresh Persian lime juice and use only 1 tablespoon of lime zest. The flavor is sharper and more aromatic, and they pair especially well with a coconut shortbread crust.
For brown butter lemon bars, brown the butter for the crust and chill it until firm but spreadable, then cream it with the sugar as usual. The toasted, nutty flavor plays beautifully against the bright lemon and is one of our most-requested test kitchen variations.
FAQs
What is the secret to perfect lemon bars?
The three biggest secrets are parbaking the crust until pale gold, using fresh lemon juice with both juice and zest, and pulling the bars from the oven when the center still has a slight jiggle. Strain the filling before pouring it in for a glossy, crack-free top.
What makes Ina Garten’s lemon bars special?
Ina Garten’s recipe leans on a generous amount of butter in the crust and a relatively high lemon juice to sugar ratio in the filling, which gives her bars a tangier, more custard-like curd than many classic versions.
What are some common lemon bar mistakes?
The most common mistakes are underbaking the crust, overbaking the filling until the center is fully firm, using bottled lemon juice, and skipping the chill time. Each of those leads to a soggy bottom, cracked top, or weak lemon flavor.
Can I freeze lemon bars?
Yes, lemon bars freeze very well for up to 3 months. Wrap individual bars in plastic wrap, store in an airtight container, and thaw in the refrigerator overnight. Dust with powdered sugar only after thawing, not before freezing.
Final Thoughts on This Lemon Bars Recipe
This lemon bars recipe is the one we come back to whenever we need a reliable, crowd-pleasing dessert that travels well and tastes even better the next day. The shortbread crust, the tangy sweet lemon curd filling, and that final snowy dusting of powdered sugar are what make lemon bars a forever classic.
If you try this recipe, lean on the tips, trust the jiggle test, and give the bars their full chill time. Bake a batch for your next potluck, baby shower, or spring brunch, and watch how fast the pan comes back empty.