
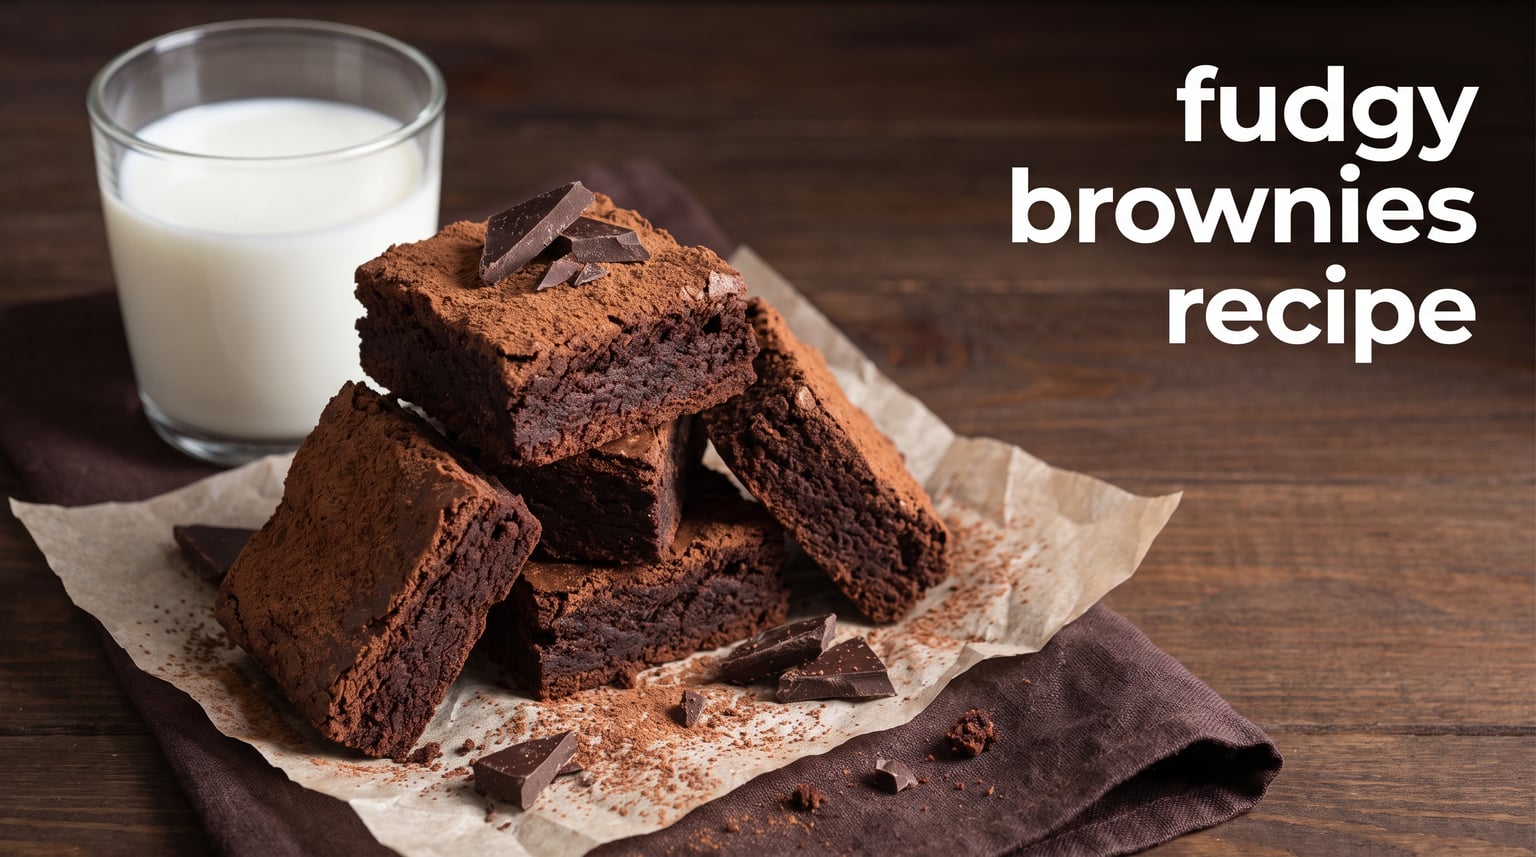
This fudgy brownies recipe is for the person who wants a dense, chocolate-rich center instead of a fluffy cake square. It uses cocoa powder, melted butter, a restrained amount of flour, and a short bake so every bite stays moist beneath a shiny, crackly crust.
The method matters as much as the ingredient list. Mixing warm butter and sugar, beating in the eggs until the batter thickens, and pulling the pan while the middle still carries moist crumbs are the moves that separate homemade fudge brownies from dry, cakey ones.
You do not need a mixer or melted baking chocolate for these cocoa powder brownies. Read the visual cues as you go, because oven calibration, pan material, and even a few extra minutes can change a fudgy chocolate brownie recipe.
Table of Contents
This fudgy brownies recipe gives you dense centers and crackly tops
This recipe makes 16 small squares in an 8-by-8-inch metal pan. Bake at 325°F (165°C) for 25 to 30 minutes, then let the slab cool completely before cutting.
The center should look set around the edges but remain a little soft in the middle when it leaves the oven. Brownies continue to firm as they cool, so a clean toothpick is a sign that they have gone too far.
The right ingredients make brownies fudgy rather than cakey
Weighing ingredients is the clearest way to repeat a result. Cups are included for convenience, but a scale removes the common problem of packing too much flour into brownies from scratch.
- 113 g unsalted butter (1/2 cup)
- 200 g granulated sugar (1 cup)
- 2 large eggs, at room temperature
- 5 ml vanilla extract (1 teaspoon)
- 65 g unsweetened cocoa powder (3/4 cup, spooned and leveled)
- 63 g all-purpose flour (1/2 cup)
- 2 g fine salt (1/4 teaspoon)
- 1 g instant espresso powder (1/2 teaspoon), optional
- 85 g semisweet chocolate chips or chopped chocolate (1/2 cup), optional
Granulated sugar is intentional here. Brown sugar can make a moist brownie, but forum bakers often report that replacing all of the white sugar takes away some of the paper-thin crackly top.
Butter and sugar build the moist, dense base
Melted butter gives the batter fluidity and rich flavor, while the sugar retains moisture and helps form the delicate surface crust. Stir the sugar into hot, not furiously boiling, butter so the mixture starts dissolving without scorching.
Oil can replace some butter in recipes built for it, but it changes both flavor and texture. For this formula, butter is the tested flavor base; changing to oil can make the finished brownie feel slick if the balance is not adjusted.
Cocoa powder supplies the chocolate flavor without extra liquid
Natural cocoa powder and Dutch-process cocoa powder both work because this batter has no baking soda that depends on natural cocoa’s acidity. Natural cocoa usually tastes a little brighter, while Dutch-process cocoa usually makes darker, mellower dense chocolate brownies.
Use unsweetened cocoa and sift it if it is lumpy. Espresso powder is optional and should make the chocolate taste deeper rather than make the brownies taste like coffee.
A low flour amount keeps the crumb compact
Flour gives brownies enough structure to slice, but too much turns a fudgy brownies recipe into a cakey one. The 63 g measure is purposely modest, so stir only until no dry streaks remain.
There is no baking powder or baking soda in this batter. Leaving out chemical leaveners limits lift and helps preserve the chewy edges and dense center.
Room-temperature eggs emulsify the batter more easily
Room-temperature eggs blend into warm butter and sugar with less shock than cold eggs. They also whip more readily, which supports a thin crust once the sugar and egg proteins form a film on top.
If your eggs are cold, place them in a bowl of warm tap water for about five minutes. Avoid hot water, which can begin cooking the egg before it reaches the bowl.
You make fudgy brownies with a short, controlled mixing method
Line an 8-by-8-inch light-colored metal pan with parchment, leaving an overhang on two sides. Grease any exposed corners lightly, then heat the oven to 325°F (165°C) with a rack in the center.
Step 1 melts the butter and begins dissolving the sugar
Put the butter in a medium saucepan over low heat and melt it fully. Remove the pan from the heat, add the granulated sugar, and stir for about one minute until the mixture looks glossy and wet.
A few grains will still be visible, which is normal. The goal is to warm the sugar and disperse it through the butter, not to cook it into caramel.
Step 2 builds the ribbon-stage egg mixture
Whisk the eggs and vanilla into the warm butter mixture vigorously for 60 to 90 seconds. The batter should thicken, turn glossier, and fall from the whisk in a ribbon that sits on the surface for a moment before disappearing.
The ribbon stage is simply a visual sign that the eggs, fat, and sugar are well combined. It encourages the shiny crust, but you do not need a stand mixer; aggressive hand whisking is enough and avoids whipping in too much air.
Step 3 folds in the dry ingredients without adding extra air
Add cocoa powder, flour, salt, and espresso powder, if using. Switch to a spatula and fold just until the last dry streak disappears, scraping the saucepan’s bottom and sides.
Fold in chocolate chips at this point if you want pockets of melted chocolate. Stop promptly, because prolonged beating develops flour structure and moves the texture toward cake.
Step 4 bakes the batter only until moist crumbs remain
Scrape the thick batter into the prepared pan and level it gently. Bake for 25 minutes, then begin checking every two minutes; most pans finish between 25 and 30 minutes.
A toothpick near the edge should have a few damp crumbs. A toothpick in the center may pick up melted chocolate and a smear of batter, but it should not emerge coated in loose liquid.
Step 5 cools the slab before it is cut
Set the pan on a rack and cool it completely, at least 90 minutes. The residual heat finishes setting the center, and the wait turns a fragile hot square into a cleanly sliced brownie.
For especially neat edges, cover the cooled pan and chill it for 30 minutes before lifting out the slab. Use a sharp knife wiped clean between cuts.
A shiny crackly top comes from dissolved sugar and egg structure
Crackly top brownies form when sugar that has partially dissolved in warm butter dries with whipped egg proteins at the surface. That is why the warm butter-and-sugar step and the vigorous egg whisking deserve attention.
- Use granulated sugar as written instead of swapping all of it for brown sugar.
- Whisk the eggs into the warm mixture until the batter is glossy and ribbons briefly.
- Fold flour in by hand and stop as soon as the batter is even.
- Spread the batter gently so the surface stays intact.
- Do not cover the pan while it bakes; trapped steam softens the forming crust.
A dull top does not mean the brownies failed. The interior can still be deeply fudgy, and the most common cause is simply that the sugar did not dissolve enough or the eggs were not whisked long enough.
Brownies are done when the center has moist crumbs, not a clean toothpick
Start checking at the low end of the time range because many home ovens run hot. The edges should look firm and may pull away from the pan slightly, while the center should no longer look liquid or ripple when the pan is moved.
Insert a toothpick about two inches from the edge rather than directly through a chocolate chip. Thick, damp crumbs are the target; a clean toothpick signals a more cake-like result.
Cooling completely is part of the bake, not an optional presentation step. Cutting warm brownies releases steam and makes the center appear underdone even when it would have set into a melt-in-your-mouth texture.
The right pan and small adjustments keep the texture consistent
An 8-by-8-inch pan makes a thicker brownie with a longer bake, while a 9-by-9-inch pan makes a thinner layer that usually finishes sooner. If using a 9-by-9-inch metal pan, start checking around 20 minutes rather than assuming the full time will apply.
Light-colored metal is the most predictable choice because it heats evenly and releases heat quickly. Dark nonstick metal can brown the edges faster, so check early; glass holds heat longer and can keep cooking the perimeter after the pan leaves the oven.
A 9-by-9-inch pan makes a thinner, faster-baking brownie
Do not double this recipe for a 9-by-9-inch pan. Spread the same batter in the larger pan, lower the initial timer, and use the moist-crumb test rather than a fixed minute count.
For a 9-by-13-inch pan, multiply every ingredient by 2.25, then bake in a metal pan and begin checking around 25 minutes. Thickness, not just pan area, determines the final timing.
Mix-ins work best when they stay within a modest amount
Use up to 85 g (1/2 cup) of chocolate chips, toasted walnuts, pecans, or a blend of the two. More than that can interrupt the structure and make a small pan difficult to cut neatly.
Toast nuts first and cool them before folding them in. A pinch of flaky salt after baking gives contrast, but add it after the brownies come out so it stays distinct on the crust.
High-altitude baking needs a shorter check window
At higher elevations, moisture evaporates faster and leavening effects can feel stronger, which can push brownies toward a dry or cakey texture. Keep the no-leavener formula, use a metal pan, and begin checking several minutes earlier than the stated range.
If repeated batches seem dry at your elevation, add 15 g (1 tablespoon) of water with the eggs and reduce the flour by about 5 g. Make only one change at a time so you can identify what improved the texture in your oven.
Most brownie problems have a simple texture fix
Dry and crumbly brownies almost always spent too long in the oven or contained too much flour. Weigh the flour, verify the oven temperature with an oven thermometer if possible, and remove the pan when damp crumbs cling to the tester.
Cakey brownies need less air and no extra leavener
A cakey result can come from adding baking powder, using too much flour, or beating the flour mixture for too long. Whisk the eggs only before the dry ingredients go in, then fold with a spatula until combined.
Do not use a stand mixer after adding flour. Forum discussions repeatedly flag overmixing and long baking as reasons a recipe advertised as fudgy turns out light and dry.
Greasy brownies need a fully mixed egg-and-fat base
Greasy streaks point to butter that separated from the eggs and sugar, or a pan that was cut before the center set. Whisk the eggs into warm, not scorching, butter until the mixture looks uniform and glossy, then cool the brownies fully.
If the top looks oily right after baking but the center is set, let the pan cool before judging it. The fat often reabsorbs as the crumb firms.
Grainy brownies need warmer sugar mixing and a little patience
Some sugar texture is normal in a cocoa brownie batter, but a distinctly sandy finish means the sugar had too little contact with the warm butter or the eggs were barely mixed. Stir the sugar into melted butter for the full minute and whisk until the batter ribbons.
Do not heat the sugar until it is completely melted. That adds another cooking variable and is not necessary for a moist brownie recipe with a crackly surface.
Brownies keep well when cooled and stored airtight
Store fully cooled brownies in an airtight container at room temperature for up to three days. Keep parchment between layers if stacking, especially when the top is delicate.
For longer storage, wrap individual squares tightly and freeze them for up to two months. Thaw at room temperature while still wrapped so condensation forms on the wrapping rather than the crust.
You can bake the slab a day ahead for a party dessert. Cutting it after an overnight rest gives particularly tidy squares and a denser bite.
Fudgy brownie questions have direct answers
Fudgy brownies come from a low-flour, high-fat batter?
Yes. Fudgy brownies use relatively little flour, enough butter and sugar for moisture, and no chemical leavener. Mix the eggs well with warm butter and sugar, then remove the brownies while a tester still carries moist crumbs.
A shiny crackly top comes from sugar and eggs?
Yes. Stir granulated sugar into warm melted butter, then whisk in the eggs until the batter is glossy and falls in a brief ribbon. This helps a thin sugar-and-egg film bake on the surface.
Brownies stay fudgy when they leave the oven slightly early?
Yes. Take the pan out when the edges are set and a tester shows thick, damp crumbs rather than a clean result. The center continues setting as the brownies cool in the pan.
Dry, crumbly brownies usually mean too much heat or flour?
Yes. Overbaking is the usual cause, followed by measuring too much flour. Weigh flour when possible, check the oven early, and use the moist-crumb test instead of waiting for a clean toothpick.
Butter can be replaced, but the texture will change?
Yes. An equal amount of neutral oil can add moisture, but butter provides flavor and contributes a different set texture. For the closest result, keep the butter; if using oil, expect a softer and sometimes slicker crumb.
The ribbon stage shows that eggs, sugar, and fat are well combined?
Yes. After whisking eggs into the warm butter-sugar mixture, lift the whisk. A thick trail that rests briefly on the batter before blending back in is the ribbon stage, and it supports a crackly top.
This fudgy brownies recipe works when you protect the moist center
This fudgy brownies recipe depends on a simple balance: measure the flour lightly or by weight, mix warm butter and sugar with eggs until glossy, and stop baking while moist crumbs remain. Cool the pan fully, then cut into dense squares with chewy edges and a rich chocolate center.
Once you know those cues, this easy fudgy brownie recipe becomes adaptable rather than unpredictable. Change the cocoa style or add a modest mix-in, but keep the low-flour batter and early doneness check at the center of the method.