
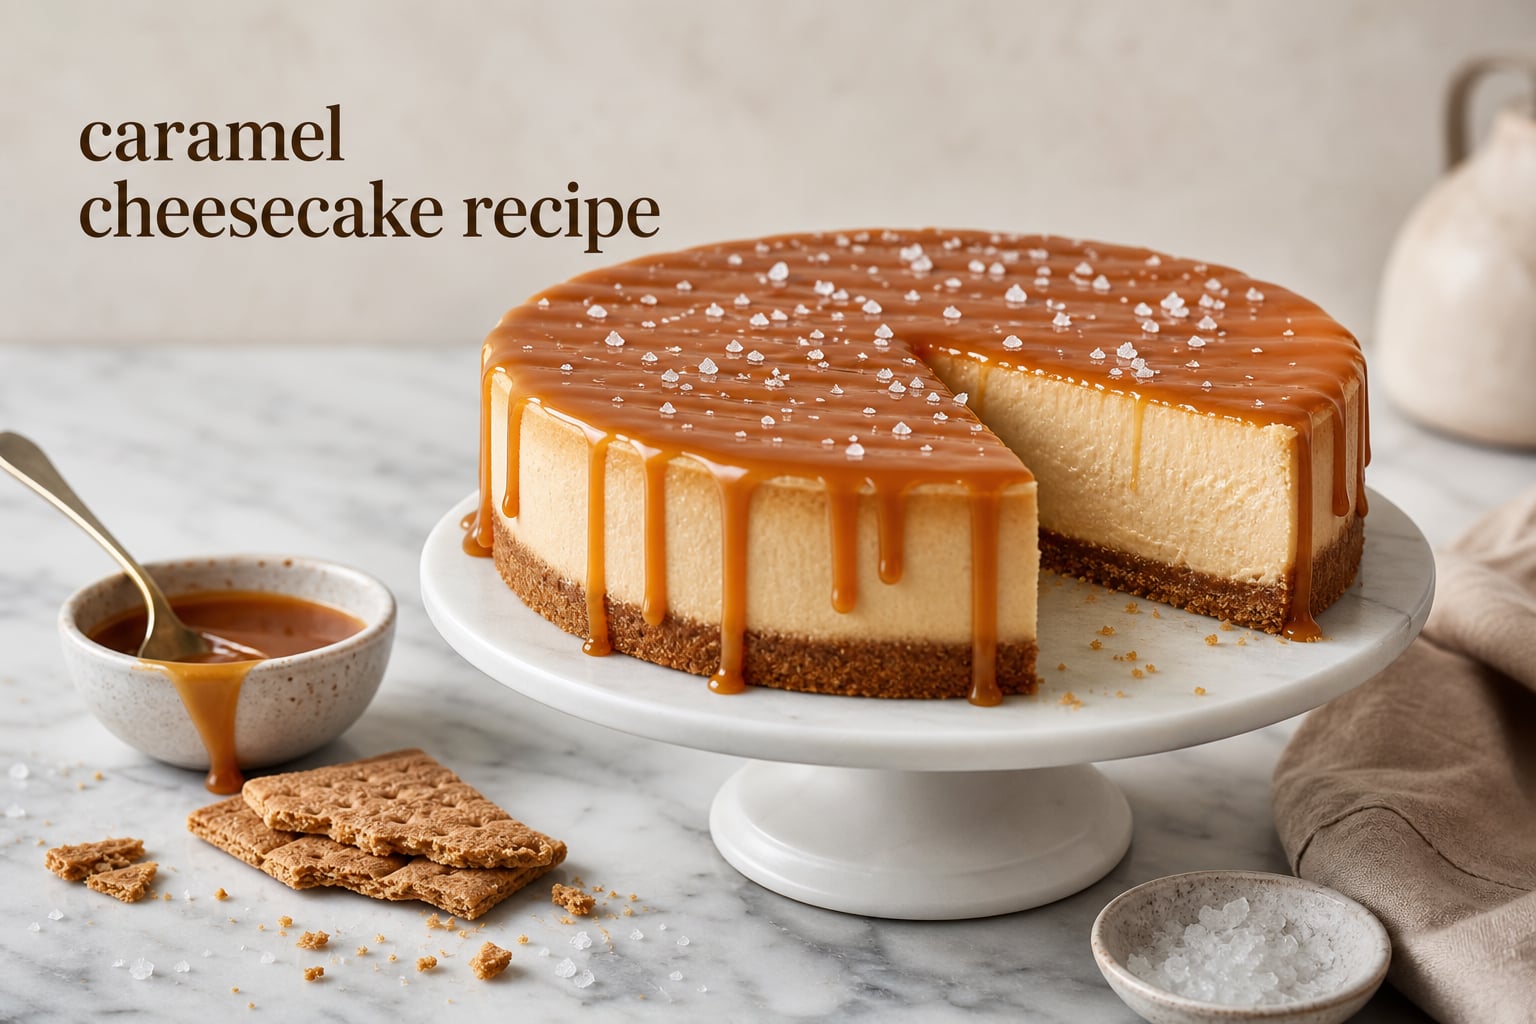
There is something magical about a homemade caramel cheesecake fresh from the oven. The buttery graham cracker crust gives way to a silky smooth cream cheese filling. Then comes the real star: rich, golden salted caramel sauce drizzled over every slice. Our team has tested this caramel cheesecake recipe over two dozen times to bring you the most reliable, delicious version possible. Whether you are baking for a holiday celebration, birthday dinner, or weekend project, this guide walks you through every step with clear instructions and pro tips.
This recipe stands apart because we fold homemade salted caramel directly into the cheesecake batter. That means you get caramel flavor in every single bite, not just a topping on the finished dessert. We also include detailed water bath instructions, internal temperature guidance, and troubleshooting tips to help you achieve that perfect crack-free finish. If you have ever wondered how to make caramel cheesecake at home, this guide has everything you need.
Table of Contents
Why This Recipe Works
Not all cheesecakes are created equal. This caramel cheesecake recipe delivers on three key fronts: texture, flavor, and reliability. First, the texture is impossibly creamy thanks to a combination of cream cheese and sour cream. The water bath method ensures gentle, even heat that prevents cracks and sinking. We have specified every detail, from room temperature ingredients to cooling procedures, so your cheesecake sets up perfectly every time.
Second, the flavor is next-level because of the homemade salted caramel sauce. Making caramel from scratch sounds intimidating, but our step-by-step method is foolproof. We use a dry caramel technique that requires only sugar, butter, heavy cream, and sea salt. The result is a deep, complex caramel with subtle saltiness that balances the sweet cream cheese filling. You will have enough caramel to swirl into the batter and drizzle over the finished cheesecake.
Third, this recipe is reliable because we address the most common cheesecake problems head-on. Cracked tops, sunken centers, and lumpy batters are all preventable when you follow our techniques. We include specific visual cues, temperature guidelines, and timing recommendations so you know exactly what to look for at each stage. Even first-time cheesecake bakers can achieve professional results with this method.
Ingredients for Caramel Cheesecake
Success starts with the right ingredients at the right temperature. Gather everything before you begin, and read through the ingredient notes for best results.
Graham Cracker Crust
2 cups graham cracker crumbs: Use about 15-16 full graham cracker sheets, crushed fine. You can pulse them in a food processor or place in a zip-top bag and crush with a rolling pin.
1/3 cup granulated sugar: Adds sweetness and helps the crust hold together.
6 tablespoons unsalted butter, melted: Binds the crumbs into a cohesive crust. Use melted butter for easy mixing.
1/4 teaspoon salt: Enhances the flavor and balances sweetness.
Cheesecake Filling
24 ounces cream cheese, softened: This is three 8-ounce packages. Philadelphia brand is our top choice for consistent results. Set the cream cheese on the counter for at least 2 hours before baking. Cold cream cheese will not blend smoothly.
1 cup granulated sugar: Provides sweetness and structure. Do not reduce this amount, as sugar affects how the cheesecake sets.
1/2 cup sour cream: Adds tanginess and contributes to the creamy texture. Full-fat sour cream works best.
1 teaspoon pure vanilla extract: Use real vanilla, not imitation, for the best flavor.
3 large eggs, room temperature: Eggs bind the filling together. Room temperature eggs incorporate more evenly. Place cold eggs in warm water for 5 minutes to bring them to room temperature quickly.
1/2 cup homemade salted caramel sauce: Swirled into the batter for caramel flavor throughout. Make this first using the recipe below.
Homemade Salted Caramel Sauce
1 cup granulated sugar: The base for dry caramel. White sugar produces the clearest caramel color.
6 tablespoons unsalted butter, cubed: Adds richness and helps the caramel set to the right consistency.
1/2 cup heavy cream, warmed: Creates the liquid caramel texture. Warm the cream slightly in the microwave so it does not shock the hot sugar.
1/2 teaspoon flaky sea salt: Essential for salted caramel. Adjust to your taste preference.
Optional Toppings
Whipped cream: For serving.
Additional caramel sauce: Drizzle over each slice before serving.
Flaky sea salt: A pinch on top adds visual appeal and enhances flavor.
How to Make Caramel Cheesecake
This caramel cheesecake recipe requires several steps, but none are difficult. The key is working methodically and allowing proper time for each stage. Total time from start to finish is about 7-8 hours, including baking and chilling. We recommend making this the day before you plan to serve it.
Step 1: Prepare the Graham Cracker Crust
Preheat your oven to 350 degrees F. If your oven runs cool, set it to 360 degrees. Position a rack in the center of the oven.
Combine the graham cracker crumbs, sugar, and salt in a medium bowl. Pour in the melted butter and stir until the crumbs are evenly moistened. The mixture should hold together when squeezed in your hand but still appear crumbly.
Lightly grease a 9-inch springform pan with butter or cooking spray. Pour the crumb mixture into the pan and use the back of a measuring cup or your fingers to press it firmly into an even layer across the bottom and about halfway up the sides.
Bake the crust for 8-10 minutes until it smells fragrant and looks slightly darker. Remove from the oven and let it cool completely while you prepare the filling. Reduce the oven temperature to 325 degrees F for the cheesecake.
Step 2: Make the Homemade Salted Caramel Sauce
This step requires close attention, so clear your workspace and stay at the stove. Place the sugar in a medium heavy-bottomed saucepan over medium heat. Do not stir the sugar. Simply let it sit and watch closely.
After 3-4 minutes, the sugar will begin to melt and turn liquid around the edges. Use a heat-proof silicone spatula or wooden spoon to gently push the melted sugar toward the center. Continue this motion until all the sugar has melted and the caramel turns a deep amber color. This usually takes 6-8 minutes total.
Remove the pan from heat immediately. Add the butter all at once and whisk vigorously. The mixture will bubble violently, so wear oven mitts and keep your face away from the pan. Whisk until the butter is fully incorporated.
Pour in the warmed heavy cream in a slow stream while whisking. The mixture will bubble again. Continue whisking until smooth. Add the salt and stir to combine.
Transfer the caramel to a heat-proof container and let it cool to room temperature. The sauce will thicken as it cools. You will need 1/2 cup for the cheesecake batter, and the rest can be used for drizzling.
Step 3: Prepare the Cheesecake Filling
Place the softened cream cheese in the bowl of a stand mixer fitted with the paddle attachment. Beat on medium speed for 2 minutes until completely smooth. Scrape down the bowl and beater, then beat for another 30 seconds to ensure no lumps remain.
Add the sugar and beat on medium speed for 2 more minutes. The mixture should look creamy and aerated. Scrape down the bowl again.
Add the sour cream and vanilla extract. Beat on low speed just until combined, about 30 seconds. Do not overmix at this stage.
Add the eggs one at a time, beating on low speed after each addition until just blended. Overbeating eggs incorporates too much air, which causes cracks during baking. Stop mixing as soon as the last egg disappears into the batter.
Pour 1/2 cup of the cooled caramel sauce into the batter. Use a spatula to fold it in gently, creating streaks rather than fully blending. This gives you beautiful caramel ribbons throughout the finished cheesecake.
Step 4: Prepare the Water Bath
A water bath, also called a bain-marie, is essential for a crack-free cheesecake. It creates a humid environment and gentle, even heat that prevents the cheesecake from rising too quickly or drying out.
Tear off two large pieces of heavy-duty aluminum foil. Place your springform pan in the center and wrap the foil up and around the sides. Repeat with the second piece in the opposite direction. The goal is a watertight seal so no water seeps into the pan during baking. Test this by placing the wrapped pan in a roasting pan and adding an inch of water. If any water leaks through, rewrap with additional foil.
Pour the cheesecake batter into the cooled crust. Use an offset spatula to spread it evenly and smooth the top.
Place the foil-wrapped springform pan inside a large roasting pan. Carefully pour hot tap water into the roasting pan until it reaches halfway up the sides of the springform pan. Do not splash water onto the cheesecake.
Step 5: Bake the Cheesecake
Transfer the roasting pan to the center rack of your 325-degree F oven. Bake for 60-75 minutes. Start checking at 55 minutes.
The cheesecake is done when the edges are set but the center still has a slight wobble, like JellO. It should not be liquid or runny. An instant-read thermometer inserted into the center should read 150 degrees F. This is the most reliable way to check for doneness.
If the cheesecake still looks very jiggly after 75 minutes, continue baking in 5-minute increments until the center firms up slightly. Overbaking causes cracks and dry texture, so rely on the visual cue and temperature rather than time alone.
Step 6: Cool the Cheesecake Slowly
Turn off the oven and crack the door open about an inch. Let the cheesecake sit in the oven for 1 hour. This slow cooling prevents sudden temperature changes that cause cracks.
After one hour, remove the roasting pan from the oven. Carefully lift the springform pan out of the water bath and set it on a wire rack. Remove the foil wrapping and let the cheesecake cool completely at room temperature, about 2 hours.
Once the cheesecake reaches room temperature, cover the top loosely with plastic wrap. Do not press the plastic onto the surface. Refrigerate for at least 6 hours, preferably overnight. The cheesecake needs this time to set up to the proper silky smooth texture.
Step 7: Assemble and Serve
Remove the cheesecake from the refrigerator about 30 minutes before serving. This allows it to soften slightly for easier slicing.
Run a thin knife around the edge of the pan to loosen the cheesecake from the sides. Release the springform ring and transfer the cheesecake to a serving plate.
Warm the remaining caramel sauce in the microwave for 15-20 seconds until pourable. Drizzle the caramel over the top of the cheesecake in a decorative pattern.
Slice with a sharp knife dipped in hot water. Wipe the knife clean between each cut for neat slices. Serve with whipped cream and a pinch of flaky sea salt on top.
Tips for Success
Room temperature ingredients matter. Cream cheese, eggs, and sour cream must all be at room temperature before mixing. Cold ingredients do not blend smoothly and leave you with lumpy batter. Plan ahead by setting everything on the counter 2 hours before you begin.
Do not overbeat the batter. Once you add the eggs, mix only until they disappear. Overbeating incorporates air that expands in the oven and causes cracks. Use low speed and resist the urge to keep mixing for a fluffier texture.
The water bath is not optional. Skipping the water bath increases your risk of cracks, sunken centers, and dry edges. Take the extra 5 minutes to wrap your pan properly. It makes the difference between a professional-looking cheesecake and a disappointing one.
Trust the internal temperature. If you have an instant-read thermometer, use it. Cheesecake is perfectly done at 150 degrees F. This removes all guesswork about whether the center is baked through.
Chill overnight for best texture. We know it is tempting to slice into your creation sooner, but patience pays off. The cheesecake needs a full 6-8 hours in the refrigerator to reach the proper silky smooth consistency. Overnight chilling is ideal.
Troubleshooting Common Problems
Even experienced bakers encounter cheesecake challenges. Here are solutions to the most common issues.
Why Did My Cheesecake Crack?
Cracks usually happen for one of three reasons: overbeating the eggs, skipping the water bath, or cooling too quickly. Overbeaten batter has too much air, which expands and contracts during baking. The water bath provides gentle, humid heat that prevents the surface from drying out. Rapid temperature changes during cooling cause the cheesecake to contract unevenly. Follow the slow cooling method in the recipe, and your cheesecake should remain crack-free.
Why Is My Cheesecake Sunken in the Middle?
A sunken center means the cheesecake was underbaked. The protein structure did not set properly, so it collapsed during cooling. Use a thermometer to verify the center reaches 150 degrees F before removing from the oven. Also check that your oven temperature is accurate with an oven thermometer.
Why Is My Cheesecake Lumpy?
Lumpy batter comes from cold cream cheese or inadequate beating at the beginning. Beat the cream cheese alone for a full 2 minutes before adding other ingredients. The mixture should look like thick cake batter with no visible lumps. If you see lumps after adding the sugar, beat for another minute before proceeding.
Can I Fix a Cracked Cheesecake?
Yes, you can hide cracks with toppings. Spread a thin layer of sour cream sweetened with a little sugar over the top, or pile on whipped cream. The caramel drizzle also does an excellent job of covering minor imperfections. Remember that appearance does not affect taste, so even a cracked cheesecake is delicious.
Storage and Make-Ahead Instructions
Caramel cheesecake is an excellent make-ahead dessert because it needs overnight chilling anyway. Here is how to store it properly.
Refrigerator Storage
Store leftover cheesecake covered in the refrigerator for up to 5 days. Keep it in an airtight container or cover the pan tightly with plastic wrap. Add fresh caramel drizzle just before serving, as the refrigerated sauce may not look as appealing.
Freezer Storage
Cheesecake freezes beautifully for up to 3 months. Freeze the whole cheesecake or individual slices wrapped tightly in plastic wrap and placed in a freezer bag. Thaw overnight in the refrigerator before serving. Add caramel sauce after thawing.
Make-Ahead Timeline
You can make the caramel sauce up to 5 days ahead and store it in the refrigerator. Warm it slightly before swirling into the batter. Bake the cheesecake up to 2 days before serving and keep it refrigerated. This recipe is perfect for holiday entertaining because most of the work happens the day before.
FAQs
How to make a simple caramel cheesecake?
To make a simple caramel cheesecake, start with a graham cracker crust, then mix softened cream cheese with sugar, sour cream, vanilla, and eggs. Pour the filling into the crust and bake in a water bath at 325 degrees F for 60-75 minutes until the center reaches 150 degrees F. Cool slowly in the oven with the door cracked, then chill overnight. Top with store-bought or homemade caramel sauce before serving.
What is the 3 ingredient cheesecake?
A 3-ingredient cheesecake typically uses cream cheese, sweetened condensed milk, and eggs. This simplified version skips the crust and sour cream for a faster dessert. However, it produces a lighter, less rich texture than traditional baked cheesecake recipes.
Can you mix caramel with cream cheese?
Yes, you can absolutely mix caramel with cream cheese. In fact, swirling caramel into cheesecake batter creates beautiful ribbons of flavor throughout the dessert. Use room temperature caramel sauce and fold it gently into the finished batter just before baking. Do not fully blend it in, or you will lose the visual appeal of the caramel streaks.
What is the hardest cheesecake to make?
Japanese cotton cheesecake is often considered the hardest to make because it requires whipping egg whites to stiff peaks and folding them into the batter without deflating them. The result is a fluffy, souffle-like texture that can collapse easily. Traditional baked cheesecake like this caramel recipe is much more forgiving and approachable for home bakers.
Final Thoughts
This caramel cheesecake recipe rewards patience with one of the most impressive desserts you can make at home. The combination of silky cream cheese filling, buttery graham crust, and rich salted caramel creates a flavor profile that feels luxurious yet comforting. We designed this guide to walk you through each step with confidence, from making your first homemade caramel to achieving that perfect crack-free finish.
Remember the key success factors: room temperature ingredients, gentle mixing, a proper water bath, and overnight chilling. Follow these principles, and you will serve a cheesecake that looks as beautiful as it tastes. Whether you are baking for a holiday gathering, birthday celebration, or just because, this salted caramel cheesecake is sure to become a favorite in your recipe collection.