
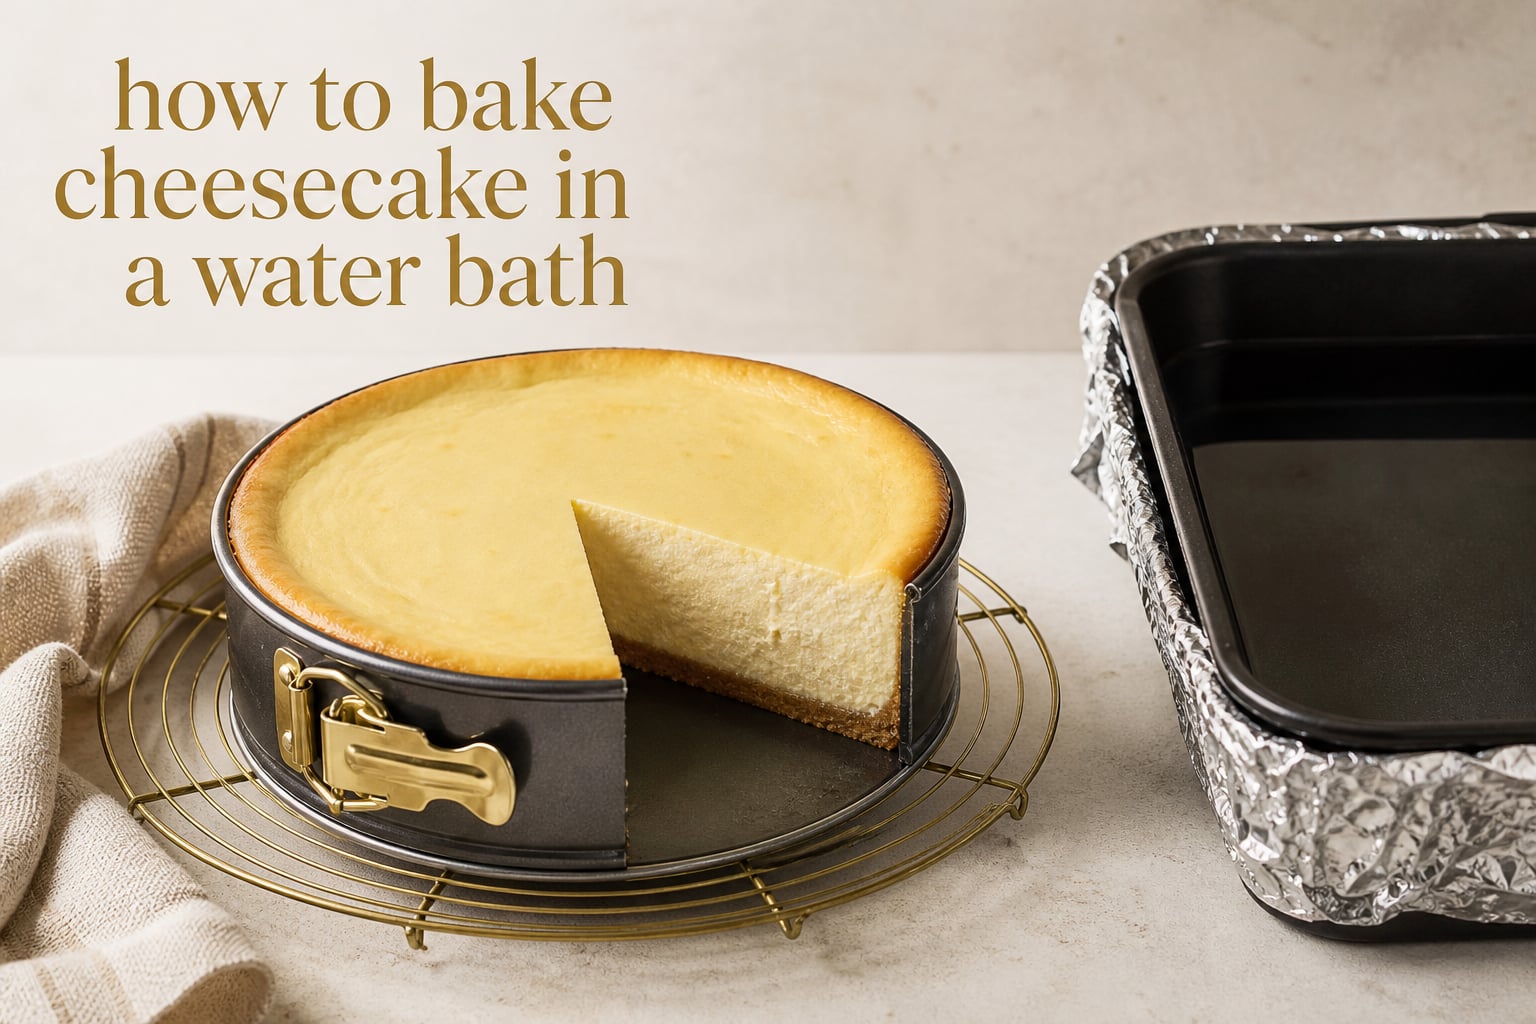
Baking a cheesecake in a water bath creates a moist, insulated environment that helps the custard bake gently and evenly. If you have wondered how to bake cheesecake in a water bath without a soggy crust or a cracked top, the key is to prepare the pan before you mix the filling and to cool the cake slowly after baking.
A water bath is not difficult, but it asks for a little care around hot water and a springform pan. This guide shows the classic foil-wrap method, then gives you two low-leak alternatives when direct contact with water feels risky.
The goal is a creamy center, a level top, and clean slices after chilling. You will also learn what the jiggle test should look like, when to take the cheesecake out of the bath, and what to do if water reaches the crust.
Table of Contents
A cheesecake water bath is a gentle, steam-filled baking setup
A cheesecake water bath, also called a bain-marie, places the filled springform pan in or near a larger pan holding hot water. The water gives off steam and buffers the harsh heat of the oven, so the egg-rich filling cooks more like a custard than a cake.
In the traditional version, the springform pan sits directly in a roasting pan. Hot water rises around the outside of the pan, usually reaching about halfway up its sides, while a foil wrap protects the crust from leaks.
The water does not touch the cheesecake filling. It only surrounds the outside of the baking pan, and that gentle contact is why the method is so helpful for a tall, dense cheesecake.
Gather the right equipment before heating the oven
- A prepared cheesecake in a springform pan, with the crust baked if your recipe calls for it.
- A roasting pan or other high-sided pan that holds the springform pan with room around it.
- Heavy-duty aluminum foil for the direct-contact method.
- A kettle or saucepan of hot water, heated separately.
- Oven mitts and a clear, stable path from the oven to the counter.
A roasting pan with tall sides is easier to handle than a shallow sheet pan. Check the fit before preheating: the springform pan should sit level, and you should be able to add water without filling the roasting pan to its rim.
A water bath bakes cheesecake evenly and limits cracks
Cheesecake cracks when its edges set and expand faster than its center, or when it cools too abruptly. A water bath moderates the heat around the pan and adds humidity, which slows that edge-to-center race.
The steam also helps the surface stay supple while the filling sets. That does not promise a flawless top every time, because overmixing, overbaking, and sudden cooling can still cause cracks, but it gives a traditional baked cheesecake its best conditions.
- Gentler heat: Water heats more slowly than the oven air, which protects the outer ring from cooking too fast.
- More humidity: Steam reduces surface drying and supports a smooth, silky texture.
- More even baking: The center and edges reach doneness at a closer pace.
- Less sinking: A gradual bake and cool-down reduce the dramatic collapse that can follow an overbaked custard.
Many recipes specify 325°F and a bake of roughly 60 to 75 minutes for a standard cheesecake, but follow the temperature and timing in your own recipe first. Pan material, filling depth, oven accuracy, and pan diameter all change the finish time.
A water bath is most useful for baked cheesecakes that contain eggs. It has no role in a no-bake cheesecake, because that dessert sets in the refrigerator rather than in the oven.
How to bake cheesecake in a water bath: use the foil-wrap method
The classic water-bath method puts the springform pan directly in hot water. It is dependable when the foil is intact, the wrap is broad enough, and you pour the water only after the pan is positioned in the oven.
Step 1: Preheat the oven and set up the rack
Preheat to the temperature stated in your recipe; 325°F is a common cheesecake temperature. Place an oven rack in the middle position so the cake has room above it and the roasting pan sits flat.
Heat a kettle or saucepan of water until it is very hot. You can bring it to a boil, then handle it carefully; starting with hot water means the oven does not have to spend extra time warming a cold bath.
Step 2: Wrap the outside of the springform pan
Tear off two large sheets of heavy-duty foil. Lay them in a cross on the counter, place the cooled springform pan in the center, and bring the foil tightly up the outside of the pan.
Press the foil against the sides without piercing it, but do not fold it over the rim where it could touch the filling. The foil works as a splash barrier, not as a guarantee against a springform pan that leaks from its base or seam.
Step 3: Place the pan inside the roasting pan
Set the wrapped springform pan in the empty roasting pan. Check that it is level, with at least a small gap between the two pans so water can circulate around the cheesecake.
If the roasting pan has a warped base or the springform pan rocks, choose another pan. An uneven bath can cause the filling to set at an angle.
Step 4: Fill the pan and settle the batter
Pour the cheesecake filling into the prepared crust and smooth the top with a spatula. Tap the springform pan gently on the counter a few times to bring up large air bubbles, then place it back in the roasting pan.
Do not beat the batter again once it is in the pan. Extra air can rise during baking and leave a puffy top that falls more sharply as it cools.
Step 5: Move the empty bath assembly into the oven
Slide the oven rack out partway and set the roasting pan, with the filled springform pan inside, on the rack. Keep the rack supported by the oven; this makes the next step much safer than carrying the assembled bath.
Keep a folded kitchen towel nearby for a small drip, but keep it away from the heating element and never place it in the oven.
Step 6: Add hot water halfway up the pan
Carefully pour hot water into the roasting pan until it comes about halfway up the outside of the springform pan. Do not pour water above the foil line, and do not splash water into the filling.
Close the oven door gently. A hard slam can send a wave of water over the foil and into the crust.
Step 7: Bake until the edges are set and the center jiggles
Bake for the time range in your recipe, often 60 to 75 minutes at 325°F. Start checking near the early end of that range rather than opening the door repeatedly from the beginning.
The jiggle test is more reliable than waiting for a completely firm center. The outer two to three inches should look set, while the center should wobble as one soft area when you gently nudge the roasting pan; it should not ripple like liquid batter.
Some recipes give a target internal temperature, which can be useful if you have a thermometer. Follow that recipe-specific target and insert the probe near the center without touching the crust or pan bottom.
Step 8: Begin cooling before removing the cheesecake
Turn the oven off when the cheesecake reaches the proper jiggle. Crack the oven door open a few inches and let the cheesecake rest in the switched-off oven for the interval your recipe directs, often about an hour.
This gradual transition matters as much as the water bath itself. Taking a hot cheesecake from a humid oven into a cool room can make the top contract too quickly and split.
Prevent water leaks by separating the cheesecake from the bath
Foil helps, but forum bakers regularly report water seeping through even a double foil wrap. If a soggy crust would ruin the dessert for you, pick a method that does not rely on foil alone.
Use the pan-in-a-pan method for the strongest leak protection
Set the springform pan inside a slightly larger solid cake pan, then place that larger pan in the roasting pan of hot water. The solid middle pan keeps bath water away from the springform seam while still passing gentle heat to the cheesecake.
This setup may add a little baking time because there is another layer of metal between the water and the cheesecake. Rely on the jiggle test and your recipe’s doneness cues instead of a timer alone.
Use an oven roasting bag when a larger cake pan is unavailable
Another option is to place the cooled springform pan inside an oven-safe roasting bag, gather the bag around the outside of the pan, and set it in the roasting pan. Keep the bag’s opening and excess material above the waterline and away from the filling.
Several home bakers favor this approach after foil failures, but the bag must be rated for oven use and must not touch an oven wall or heating element. Check the package directions for its temperature limits.
Use the lower-rack method when you do not want water touching the pan
Place a roasting pan of hot water on the rack below the cheesecake and bake the cheesecake on the middle rack. The water produces steam, so you still get a more humid environment without placing the springform pan directly in water.
This method reduces leak risk to nearly zero, though it does not buffer the pan’s sides as strongly as a direct bath. It is a sensible compromise for a springform pan you do not fully trust.
Adjust thoughtfully for convection ovens and pan sizes
A fan-assisted convection oven moves hot air more aggressively, which can set the cheesecake edges faster. A common adjustment is to reduce the stated baking temperature by 25°F, but your recipe and oven manual take priority.
A 10-inch cheesecake is usually wider and shallower than a 9-inch cheesecake made from the same amount of batter, while a deeper filling needs more time to set in the center. Keep the water depth near halfway up the pan and use the jiggle test rather than transferring the timing from a different pan size.
Cool the cheesecake slowly to protect its smooth top
After the oven rest, remove the roasting pan from the oven with mitts and set it on a heat-safe surface. Let the cheesecake sit in the water bath for about 15 to 20 minutes, unless your recipe specifies another cooling routine.
Then lift the springform pan out of the water and remove the foil or outer bag. Dry the outside of the pan, because any water left around the base can continue softening the crust while the cheesecake cools.
Let the cheesecake stand at room temperature until it is no longer warm, usually around one to two hours. Refrigerate it uncovered or loosely covered until thoroughly cold, then cover it for longer storage.
Do not release the springform ring while the cheesecake is hot. The filling continues to set as it cools, and an early release can damage the tender edge.
Solve common water-bath problems with the right next step
Fix a soggy crust by drying before chilling
If water leaked into the pan, remove the cheesecake from the bath and dry the outside of the springform pan right away. If the cheesecake is set enough to move safely, place it on a baking sheet and return it to a low oven for a brief period to help the crust dry, watching closely so the filling does not overbake.
The crust may not return to its original crispness, but a fully chilled cheesecake can still slice and taste good. For the next bake, use the pan-in-a-pan or lower-rack method rather than adding more layers of foil alone.
Hide a small crack after the cheesecake has chilled
A narrow crack is cosmetic, not a sign that the cheesecake is unsafe or unusable. Chill the cake completely, then cover the top with a suitable topping from your recipe, such as fruit, sauce, whipped cream, or a thin sour-cream layer.
To prevent the next crack, check for overbaking, vigorous mixing, and a sudden temperature change. The water bath helps, but gentle mixing and a patient cool-down complete the process.
Keep baking when the center still looks fluid
If the center sloshes instead of making a contained jiggle, it needs more time. Close the oven and continue in short intervals, checking only as needed so the oven temperature remains steady.
If the top browns too quickly before the center sets, loosely tent the top with foil without pressing it onto the cheesecake. A properly filled water bath should not evaporate dry during a normal cheesecake bake, but add more hot water carefully if it does.
Accept a little settling but avoid a deep sink
Some settling during cooling is normal because cheesecake is a custard. A deep crater often points to too much air in the batter, an oven that ran hot, or a cheesecake baked past the gentle jiggle stage.
Next time, bring cold ingredients to the temperature the recipe requests, mix on low speed once the eggs go in, and stop when the center is just set. Those small changes work with the humid environment rather than asking the water bath to solve every issue.
These answers resolve common cheesecake water-bath questions
Should cheesecake be baked in a water bath?
Yes, a water bath is a strong choice for most baked egg-based cheesecakes because it supplies gentle, humid heat that supports even baking and helps limit cracks. It is optional when a recipe specifies another approach, and it is not needed for no-bake cheesecake.
How do you bake in a water bath?
Set the filled springform pan in a larger roasting pan, place the assembly on the oven rack, and add hot water until it reaches about halfway up the springform pan. Bake at your recipe’s temperature, then cool the cheesecake gradually before chilling.
Can I put a springform pan in a water bath?
Yes, but wrap the pan with broad heavy-duty foil or use a pan-in-a-pan setup because springform seams can leak. If you do not want water to touch the pan, place the water-filled roasting pan on the rack below the cheesecake instead.
What temperature and how long should cheesecake bake in a water bath?
Many recipes bake cheesecake at 325°F for about 60 to 75 minutes, but recipe instructions, pan size, filling depth, and oven accuracy control the exact time. Look for set edges and a small, contained jiggle in the center.
Is cheesecake better for diabetics?
A water bath changes texture and baking behavior, not the nutritional profile of cheesecake. Anyone managing blood sugar should consider the full recipe and seek personalized dietary guidance from a qualified health professional.
Bake cheesecake in a water bath with gentle heat and a patient cool-down
Now you know how to bake cheesecake in a water bath: protect the springform pan, add hot water after the pan reaches the oven, bake only to a soft center jiggle, and let the cheesecake cool in stages. If a water bath leak is your main concern, begin with the pan-in-a-pan or lower-rack option and focus on the same gentle baking and cooling routine.
With that process in place, a creamy, level cheesecake is much more repeatable in 2026.