
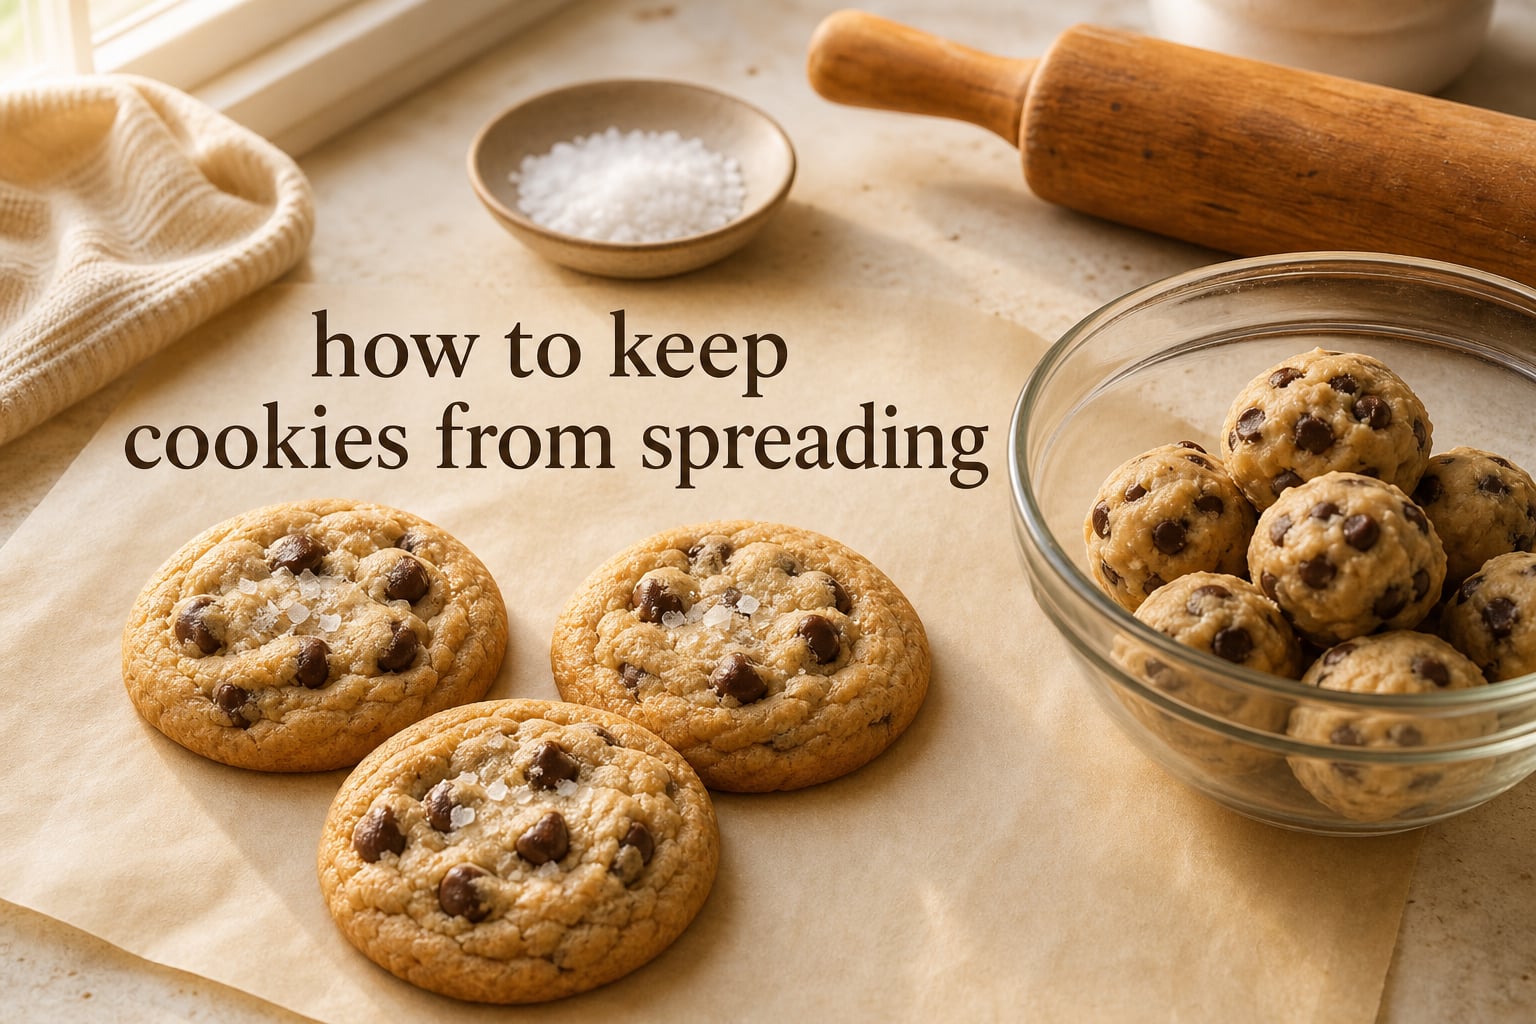
Pulling a tray of cookies from the oven only to watch them melt into thin, greasy puddles is one of the most frustrating things in home baking. I have been there more times than I want to admit, and I have heard the same disappointment from bakers all over our community. Learning how to keep cookies from spreading is not about a single magic trick. It is a combination of small choices you make before the dough ever hits the oven.
This guide comes from our test kitchen here at 7ate9 Bakery, where I bake cookies almost every week. I will walk you through why cookies spread, the seven reliable fixes we use, and a rescue trick you can try if your batch is already starting to flatten. By the end, you will know exactly how to keep cookies from spreading no matter what recipe you pull up.
Table of Contents
Why Cookies Spread (The Quick Science)
Cookie spread happens when the fat in the dough melts faster than the flour structure can set, so the dough flattens outward before it firms up. Butter is the most common culprit, but sugar type, oven temperature, and pan surface all play supporting roles. When the structure catches up too late, you end up with a thin, greasy disc instead of a thick, chewy cookie.
The opposite problem, where a cookie barely spreads at all, usually means too much flour or too cold butter. The cookie world lives in the middle, and your job is to give the flour network just enough time to hold shape while the fat still softens enough to spread gently. Every tip below tilts that balance back toward thick, bakery-style results.
1. Chill Your Cookie Dough (The Single Most Important Step)
The number one reason for spread is dough that goes into the oven warm. Chilling the dough lets the butter firm back up, the flour fully hydrate, and the flavors meld together. We chill our cookie dough for a minimum of 1 hour and up to 24 hours for the best flavor and structure.
Here is how to do it without slowing down your bake day:
- Scoop the dough into balls first, then chill on a parchment-lined plate for 1 to 3 hours.
- For deeper flavor, refrigerate the mixed dough in a sealed container for 12 to 24 hours.
- If you are in a rush, freeze the dough balls for 10 to 15 minutes while the oven preheats.
- Place cold dough balls on a room temperature sheet right before baking. Do not let them sit out for more than 10 minutes.
I tested this side by side last weekend. Same recipe, same oven, two trays. The chilled batch kept its height. The room-temp batch spread into a thin layer within 9 minutes flat.
2. Get Your Butter Temperature Right
Room temperature butter should feel like a cool, slightly chilled face cream, around 65 to 68°F. If your finger sinks in easily and the butter looks shiny, it is too warm. If it does not give at all, it is too cold. The classic “press test” works: press with your thumb and you should leave a slight indent without the butter sliding around.
Here is a quick reference for butter states you may see in recipes:
- Softened (65-68°F): dents when pressed, holds its shape on a counter. Best for creaming.
- Melted (around 90°F): shiny, completely liquid. Causes the worst spread. Avoid unless the recipe calls for it.
- Cold (40°F from fridge): firm, no give. Best for slice-and-bake or chilled cookies.
A recipe from our archives assumes softened butter, not melted. If your kitchen runs warm, pop the mixing bowl into the fridge for 5 minutes between creaming and adding the dry ingredients.
3. Choose the Right Baking Surface
The pan and liner you use changes how heat moves into the dough, which affects spread. Dark metal pans transfer more heat, which sets cookies faster and causes less spread. Light or shiny aluminum pans run cooler and can give more spread. Nonstick pans have a similar effect to greased sheets, which is why they can lead to puddle-like results.
Here is how the three most common liner choices compare:
- Parchment paper gives a clean release, even browning, and minimal stick. This is our default for almost every drop cookie we bake.
- Silicone baking mats (like Silpat) create a slightly cooler surface because they insulate the dough from direct metal contact. Great for controlling spread, especially for sugar cookies.
- Bare ungreased aluminum sheets have a little grip, so cookies hold their shape but may stick if you skip parchment.
Skip the cooking spray unless a recipe specifically asks for it. Sprayed sheets act like greased pans and almost always cause more spread.
4. Measure Flour Accurately
Too little flour is one of the top three reasons cookies spread, and most home bakers measure flour wrong without realizing it. Dipping the measuring cup straight into the bag packs the flour down, sometimes adding 20 to 30 percent more than you need.
The fix is simple. Use the spoon-and-level method: fluff the flour in the bag, spoon it into the measuring cup, and level it off with the back of a knife. Even better, weigh the flour with a kitchen scale. 125 grams equals 1 cup of all-purpose flour on most digital scales.
If you bake a lot and your cookies still spread despite careful measuring, try increasing the flour by 1 to 2 tablespoons next time. I did this on a brown butter cookie test and saw an instant improvement.
5. Shape Dough Into Tall Mounds, Not Spheres
Round dough balls look pretty on the sheet, but tall mounds hold their height in the oven. When you roll dough between your palms, you naturally create a sphere. Instead, use your hand to form a slight cone or tall dome, then place it on the baking sheet. The extra height on top survives the first 8 minutes of baking, which is when most spread happens.
This trick only takes an extra second per cookie. I have used it on hundreds of batches and it never fails to deliver thicker cookies without changing anything else in the recipe.
6. Stop Overmixing the Dough
Overmixing develops gluten, which sounds like a good thing for structure, but in cookies it can make dough tough, dense, or extra spread-out, depending on the balance of fat to flour. Once you add the dry ingredients to the wet, mix just until you no longer see streaks of flour. A few remaining lumps are fine.
If you are using a stand mixer, mix on low speed for the final 20 seconds and finish by hand with a spatula. We noticed a clear difference when our team switched from a high-speed mix to a low-and-slow approach during a chocolate chip cookie test last month.
7. Bake One Tray at a Time on the Middle Rack
Loading the oven with multiple trays at once might save time, but it changes the airflow and heat around each pan. The top tray runs hotter, the bottom tray runs cooler, and both trays often spread unevenly. We bake one tray at a time, centered on the middle rack, and rotate the tray halfway through for even browning.
If you must bake two trays at once, place them on the top and bottom thirds of the oven and switch their positions halfway through. Avoid dark or insulated sheets that hold too much heat in the lower position, which can overbrown the bottoms.
How to Save Cookies That Are Already Spreading
Sometimes you do everything right and the cookies still go flat. We have all been there. The good news is you can rescue a batch mid-bake if you catch it early. After about 5 to 7 minutes in the oven, the dough has softened but not set. Pull the tray out briefly and use the back of a spoon to gently push the spreading edges back toward the center, forming a taller mound. Return the tray to the oven and finish baking.
This spoon trick works best for drop cookies like chocolate chip or oatmeal. For cutout cookies, the rescue is different. Pop the hot tray back into the freezer for 5 minutes to reset the butter, then bake at a slightly lower temperature (325°F) for the rest of the time. The cooler start helps the cookies hold their shape.
If the batch has already spread past 9 minutes and the edges are browning, leave it. Flat cookies still taste great. Let them cool fully on the sheet, then use them as ice cream sandwich bases or crumble them over sundaes.
Bonus: Quick Reference Checklist
Save this checklist on your phone for next bake day. Tick each box before sliding the tray into the oven.
- Dough chilled at least 1 hour (or frozen 15 minutes).
- Butter at the right temperature (65-68°F, not melted).
- Sheet lined with parchment or silicone mat.
- Flour measured with spoon-and-level or by weight.
- Dough balls formed as tall mounds.
- Single tray on the middle rack.
- One small scoop of extra flour added for structure.
Once you build these habits into your routine, you will rarely see a flat cookie again.
Frequently Asked Questions
How do you stop cookies from spreading?
Chill the dough for at least 1 hour, use room temperature butter (not melted), and bake on parchment paper instead of a greased sheet. These three changes alone fix most spread issues.
What can I add to cookies to keep them from spreading?
Add 1 to 2 tablespoons of extra flour, or replace 1 tablespoon of flour with cornstarch for extra structure. Both options firm up the dough and reduce spread in the oven.
What can cause a cookie to spread too much?
The most common causes are warm dough, melted butter, too little flour, a hot oven, or a greased baking sheet. Any single one of these can cause spread, and they often stack up in a recipe.
How to get cookies to hold their shape?
Chill the dough well, shape the balls as tall mounds instead of spheres, and bake on parchment or a silicone mat rather than a greased sheet. These three steps give cookies the structure they need to hold their shape.
Does parchment paper stop cookies from spreading?
Parchment paper helps a little because it has more grip than a greased surface and does not let butter pool under the dough. It is a useful tool, but chilling the dough matters more for stopping spread.
Final Thoughts
Learning how to keep cookies from spreading is one of the most useful skills a home baker can master. Once you dial in your butter temperature, chill the dough, and pick the right pan lining, your cookies will hold their shape with very little extra effort. Pick one tip to try on your next batch, then add another the bake after that.
If you try these tips and want to share your results, tag us at 7ate9 Bakery. We love hearing from bakers who finally got the thick, chewy cookies they have been chasing. Happy baking in 2026.