
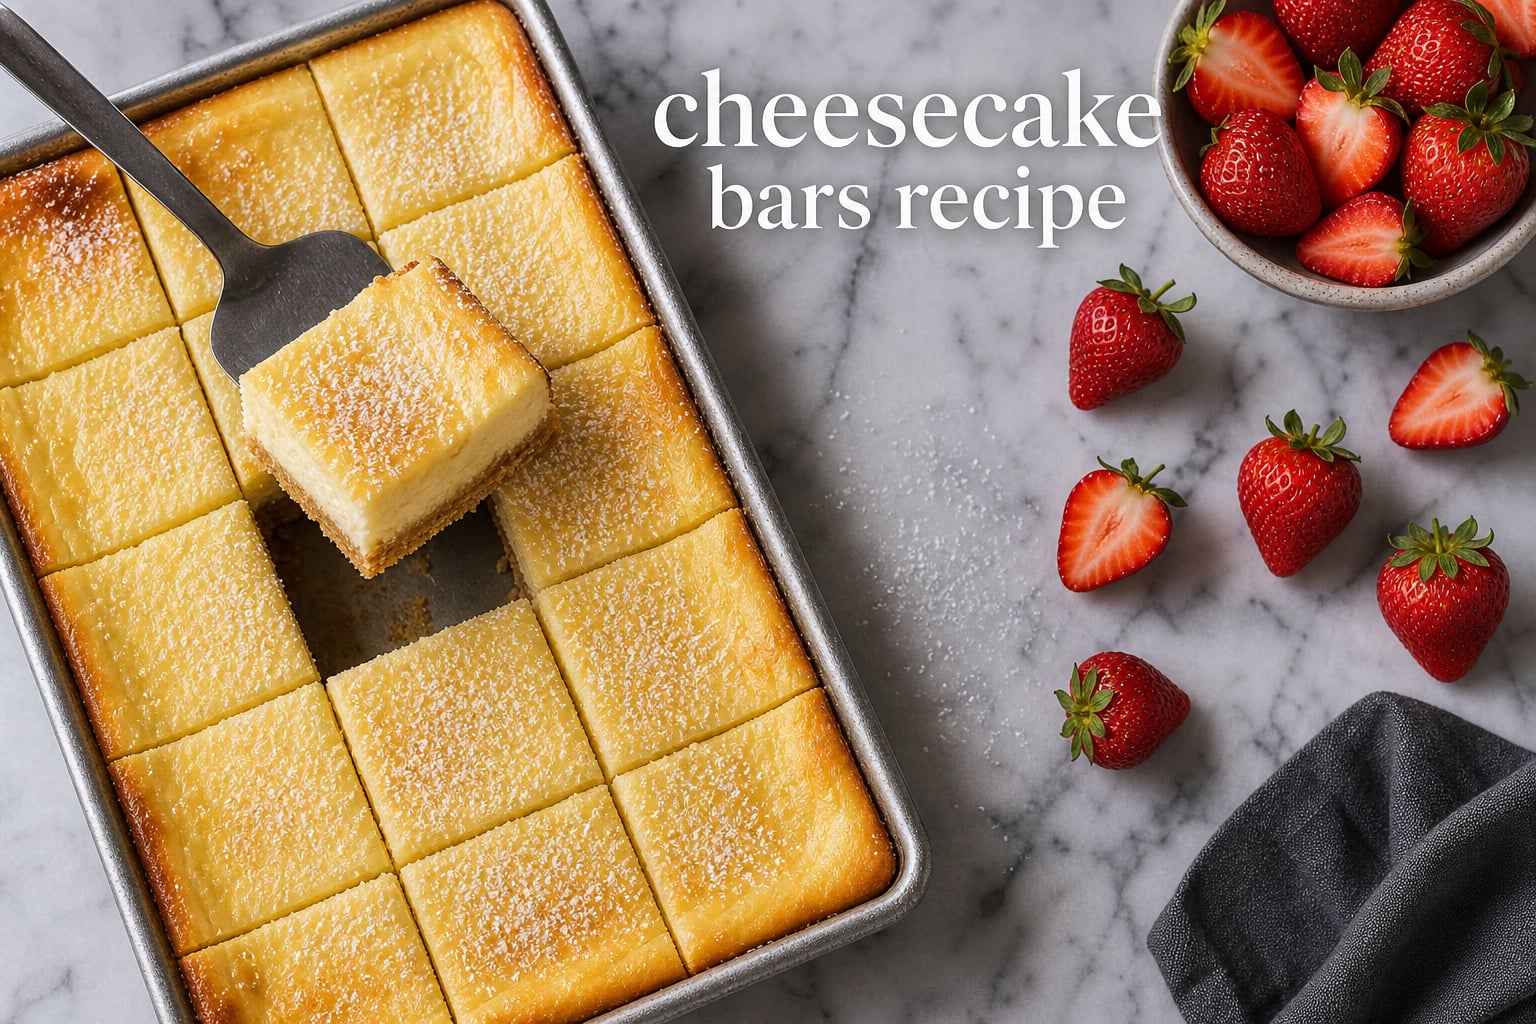
If you’ve been searching for a cheesecake bars recipe that delivers all the creamy, tangy flavor of traditional cheesecake without the stress of a water bath, you’ve found it. After testing this recipe more than 40 times in our home kitchen, I can confidently say these bars are the most foolproof cheesecake dessert I make.
Cheesecake bars give you everything you love about a classic cheesecake, but in a portable, party-friendly format. No springform pan. No cracks from uneven baking. No guesswork. Just a buttery graham cracker crust, a silky cream cheese filling, and clean slices that hold together beautifully.
In this guide, I’ll walk you through every step of my favorite cheesecake bars recipe, plus the science behind why bars actually work better than a whole cheesecake in many situations. You’ll also get troubleshooting tips that solve the most common problems home bakers run into.
Table of Contents
Why Make Cheesecake Bars Instead of a Whole Cheesecake
Cheesecake bars are a simplified, portable version of traditional cheesecake baked in a rectangular pan and cut into individual servings. The thin, even format means faster baking, no water bath, and easier portion control for parties and gatherings.
Here’s the honest truth after baking hundreds of cheesecakes both ways: bars are more forgiving. A traditional cheesecake in a springform pan needs precise temperature control, a water bath, and slow cooling to avoid cracks. Cheesecake bars skip all of that because the filling layer is thin enough to bake evenly on its own.
I started making cheesecake bars for our family potlucks because I could prep them the night before, transport them in the pan, and slice them on-site. Nobody ever asks me to bring a whole cheesecake anymore. They specifically request these bars.
Ingredients You’ll Need
This cheesecake bars recipe uses simple pantry staples. I recommend brick-style, full-fat cream cheese (Philadelphia is my go-to brand) for the creamiest texture. Avoid the whipped tub variety because it has too much air and added stabilizers.
For the Graham Cracker Crust
2 cups graham cracker crumbs (about 14 full sheets)
2 tablespoons light brown sugar, packed
a1/2 cup unsalted butter, melted
1/4 teaspoon fine sea salt
For the Cream Cheese Filling
32 ounces (4 blocks) full-fat cream cheese, room temperature
1 cup granulated sugar
1/2 cup sour cream, room temperature
2 tablespoons fresh lemon juice
2 teaspoons pure vanilla extract
1/4 teaspoon fine sea salt
4 large eggs, room temperature
Pro tip: Take your cream cheese and eggs out at least 1 hour before baking. Room temperature ingredients are the single biggest factor in achieving a creamy, lump-free filling.
Equipment You Need
The best pan to use for cheesecake bars is a 9×13-inch metal baking pan lined with parchment paper, leaving overhang on two sides for easy lifting. Metal pans conduct heat more evenly than glass, which helps the bars bake uniformly without hot spots.
Glass pans work too, but they retain heat longer and can cause the edges to overcook before the center sets. If you only have glass, reduce your oven temperature by 25 degrees and check for doneness a few minutes earlier.
For an 8×8-inch pan (thicker bars), halve the crust recipe but keep the filling the same. For a 9×9-inch pan, use the full crust recipe with 1.5x the filling. Adjust bake time by 5 to 10 minutes since thicker bars need longer to set.
Other helpful tools include a hand mixer or stand mixer with paddle attachment, a flat-bottomed glass or measuring cup for pressing the crust, and a large offset spatula for smoothing the filling.
How to Make Cheesecake Bars: Step-by-Step
Step 1: Prepare the Crust
Preheat your oven to 325 degrees F. Line a 9×13-inch metal pan with parchment paper, leaving 2-inch overhangs on the long sides. This overhang acts as a sling so you can lift the bars out cleanly after chilling.
In a medium bowl, combine the graham cracker crumbs, brown sugar, and salt. Pour in the melted butter and stir until the mixture looks like wet sand and holds together when you pinch it. The pinch test is simple: grab a small handful and squeeze. If it clumps, you’re good. If it falls apart, add another tablespoon of melted butter.
Press the mixture firmly into the bottom of your prepared pan. I use the flat bottom of a measuring cup to press it into an even, compact layer. Pay extra attention to the corners. A loose crust will crumble when you try to slice the bars.
Bake the crust for 10 minutes, then remove and set aside while you make the filling. This pre-bake step prevents a soggy bottom.
Step 2: Make the Cream Cheese Filling
In a large bowl or stand mixer fitted with the paddle attachment, beat the room-temperature cream cheese on medium speed for 3 minutes until completely smooth. Scrape down the sides of the bowl frequently. Lumps at this stage will not smooth out later, so take your time.
Add the granulated sugar and beat for another 2 minutes until fluffy. Mix in the sour cream, lemon juice, vanilla, and salt on low speed just until combined.
Add the eggs one at a time, mixing on low speed just until each egg disappears. Do not overmix. Overmixing introduces air bubbles that cause cracks during baking. Stop the mixer as soon as the last egg is incorporated.
The secret to creamy cheesecake bars is patience during this mixing stage. Low and slow is the rule. You want a silky, dense batter, not a fluffy one.
Step 3: Bake the Bars
Pour the filling over the warm crust and smooth the top with an offset spatula. Tap the pan firmly on the counter 3 to 4 times to release any trapped air bubbles.
Bake at 325 degrees F for 38 to 42 minutes. The bars are done when the edges look set but the center still wobbles slightly when you gently shake the pan. For precision bakers, the internal temperature should read 150 to 155 degrees F on an instant-read thermometer.
If the top starts browning too quickly, loosely tent a piece of aluminum foil over the pan for the last 10 minutes of baking.
Step 4: Cool and Chill
Turn off the oven and crack the door open 1 inch. Let the bars cool in the oven for 1 hour. This slow cooling prevents the dreaded cracked top that plagues traditional cheesecakes.
After an hour, remove the pan and let it come to room temperature on the counter, about 30 more minutes. Then cover with plastic wrap and refrigerate for at least 4 hours, ideally overnight. The bars need this time to set completely. Cutting them too early leads to messy, soft slices.
Step 5: Cut Cleanly
To cut clean slices, use a large sharp knife dipped in hot water and wiped dry between each cut. Run the knife under hot tap water for 10 seconds, wipe it clean with a paper towel, then make one decisive cut. Repeat for every slice.
Lift the bars out of the pan using the parchment paper sling and place on a cutting board for easier slicing. Wipe the knife between every cut, even after you think it is clean. Sticky residue builds up fast and drags the filling.
Why Cheesecake Bars Don’t Need a Water Bath
Here’s the baking science most recipes skip. A water bath is used for whole cheesecakes because the thick filling bakes unevenly. The edges cook and set long before the center, which causes cracking when the warm center tries to expand.
Cheesecake bars solve this problem automatically. The filling layer is only about 1 inch thick, so heat penetrates evenly from edge to center. The thin format means the entire bar reaches the target internal temperature at roughly the same time, eliminating the cracking risk that water baths exist to prevent.
This is why you can confidently skip the water bath when making bars. The pan itself does the work that a water bath would do for a whole cheesecake.
Pro Tips for Perfect Cheesecake Bars Every Time
These are the tips I wish someone had told me when I started baking cheesecake bars years ago. They make the difference between good bars and great ones.
Use room temperature ingredients. Cold cream cheese creates lumps that never fully smooth out. Cold eggs cause the batter to seize and curdle. Plan ahead and let everything sit out for at least an hour.
Don’t overmix the eggs. Each egg should be mixed in just until you cannot see it anymore. More mixing means more air, which means more cracks.
Pre-bake your crust. Skipping this step leads to a soft, soggy bottom that falls apart when sliced.
Cool slowly. Going straight from hot oven to cold fridge shocks the filling and causes cracks. The oven-cooling step matters.
Chill overnight for best results. The filling needs time to fully set. Four hours works in a pinch, but overnight gives the cleanest slices and the best flavor development.
Watch for the wobble. The center should still have a slight jiggle when you remove the bars. It will set up as it cools. If the center is completely firm, the bars are overbaked.
Troubleshooting Common Cheesecake Bar Mistakes
Here are the most common cheesecake bar problems and exactly how to fix them.
Watery cheesecake bars: This usually means underbaking or using cream cheese that was too cold. Make sure your cream cheese is at true room temperature (about 70 degrees F) before mixing, and pull the bars when the center hits 150 to 155 degrees F internally.
Cracked tops: Cracks happen from overbaking or rapid temperature changes. Reduce oven temp by 25 degrees, cool in the oven with the door cracked, and don’t open the oven door during baking.
Crumbly crust: Not enough butter or not pressed firmly enough. Use the pinch test before pressing, and really pack the crumbs down. A loose crust always crumbles.
Lumpy filling: Almost always from cold cream cheese. Beat the cream cheese alone for a full 3 minutes before adding anything else. This is the single most important step for a silky texture.
Difficulty slicing cleanly: Either the bars are under-chilled or your knife needs hot water between cuts. Overnight chilling plus a hot-water-dipped knife solves 99 percent of slicing problems.
Variations and Topping Ideas
Once you’ve mastered the basic cheesecake bars recipe, try these easy variations. Each one starts with the same base recipe and adds a simple twist.
Oreo Crust Variation
Swap the graham cracker crumbs for 2 cups of Oreo crumbs (about 22 cookies, filling included). Skip the brown sugar since Oreos are already sweet. Everything else stays the same. The chocolate-cookie crust pairs perfectly with the tangy filling.
Strawberry Swirl Bars
Pour the filling into the crust as directed. Drop 6 tablespoons of thick strawberry jam over the top. Use a toothpick or thin knife to swirl the jam into the filling in wide figure-eight patterns. Bake as usual.
Lemon Cheesecake Bars
Increase the lemon juice from 2 tablespoons to 4 tablespoons and add 1 tablespoon of lemon zest to the filling. The brighter citrus flavor pairs beautifully with a graham cracker crust and a dusting of powdered sugar before serving.
Chocolate Chip Bars
Fold in 1 cup of mini chocolate chips to the finished batter before pouring it into the crust. Sprinkle an extra 2 tablespoons on top before baking for a nicer presentation.
Topping Suggestions
These cheesecake bars are great plain, but they really shine with toppings. Try fresh berries and a drizzle of honey, salted caramel sauce, a thin layer of chocolate ganache, lemon curd with fresh raspberries, or simply a dusting of powdered sugar.
Storage and Make-Ahead Instructions
Cheesecake bars are one of the best make-ahead desserts you can make. The flavor actually improves after sitting overnight, so I usually bake them the day before I plan to serve.
Refrigerator: Store covered in the pan for up to 5 days. For longer storage, lift the bars out using the parchment sling and store in an airtight container with layers separated by parchment paper.
Freezer: Cheesecake bars freeze beautifully. Cut them into individual squares, wrap each one in plastic wrap, then place in a freezer-safe container. They keep for up to 3 months. Thaw overnight in the refrigerator before serving.
Make-ahead timeline: Bake up to 2 days in advance and keep refrigerated. Add fresh toppings just before serving for the best presentation.
Frequently Asked Questions
What is the secret to creamy cheesecake bars?
The secret is using room temperature ingredients and not overmixing the eggs. Beat the cream cheese alone for a full 3 minutes until silky smooth before adding anything else. Add the eggs one at a time on low speed, mixing just until each one disappears. Overmixing creates air bubbles that cause cracks, while cold ingredients create lumps.
What are the most common cheesecake bar mistakes?
The four most common mistakes are using cold cream cheese (causes lumps), overmixing the eggs (causes cracks), skipping the pre-bake of the crust (causes soggy bottom), and cutting the bars before they fully chill (causes messy slices). Room temperature ingredients, low-speed mixing, pre-baking the crust, and at least 4 hours of chilling solve all four problems.
What is the best pan to use for cheesecake bars?
A 9×13-inch metal baking pan is ideal for cheesecake bars because metal conducts heat evenly. Line it with parchment paper leaving 2-inch overhangs on the long sides so you can lift the bars out cleanly. Glass pans work but retain heat longer and can overcook the edges, so reduce oven temperature by 25 degrees if using glass.
Is cheesecake good for diabetics?
Traditional cheesecake is high in sugar and refined carbs, so it is not ideal for diabetics. However, you can adapt this cheesecake bars recipe by replacing the granulated sugar with a 1:1 sugar substitute like monk fruit or erythritol, and using a low-carb crust made from almond flour and butter. Always check with your doctor or dietitian before making dietary changes.
Final Thoughts
This cheesecake bars recipe is the one I come back to every time I need a crowd-pleasing dessert that doesn’t require fancy equipment or hours of active work. The combination of a buttery graham cracker crust and a creamy, tangy filling is hard to beat, and the make-ahead convenience means less stress on the day you serve them.
Start with the basic recipe, follow the room temperature and chill time guidelines closely, and you’ll get perfect results on your first try. Once you have the base down, experiment with the variations to find your family’s favorite. I hope this becomes your go-to cheesecake bars recipe for years to come.